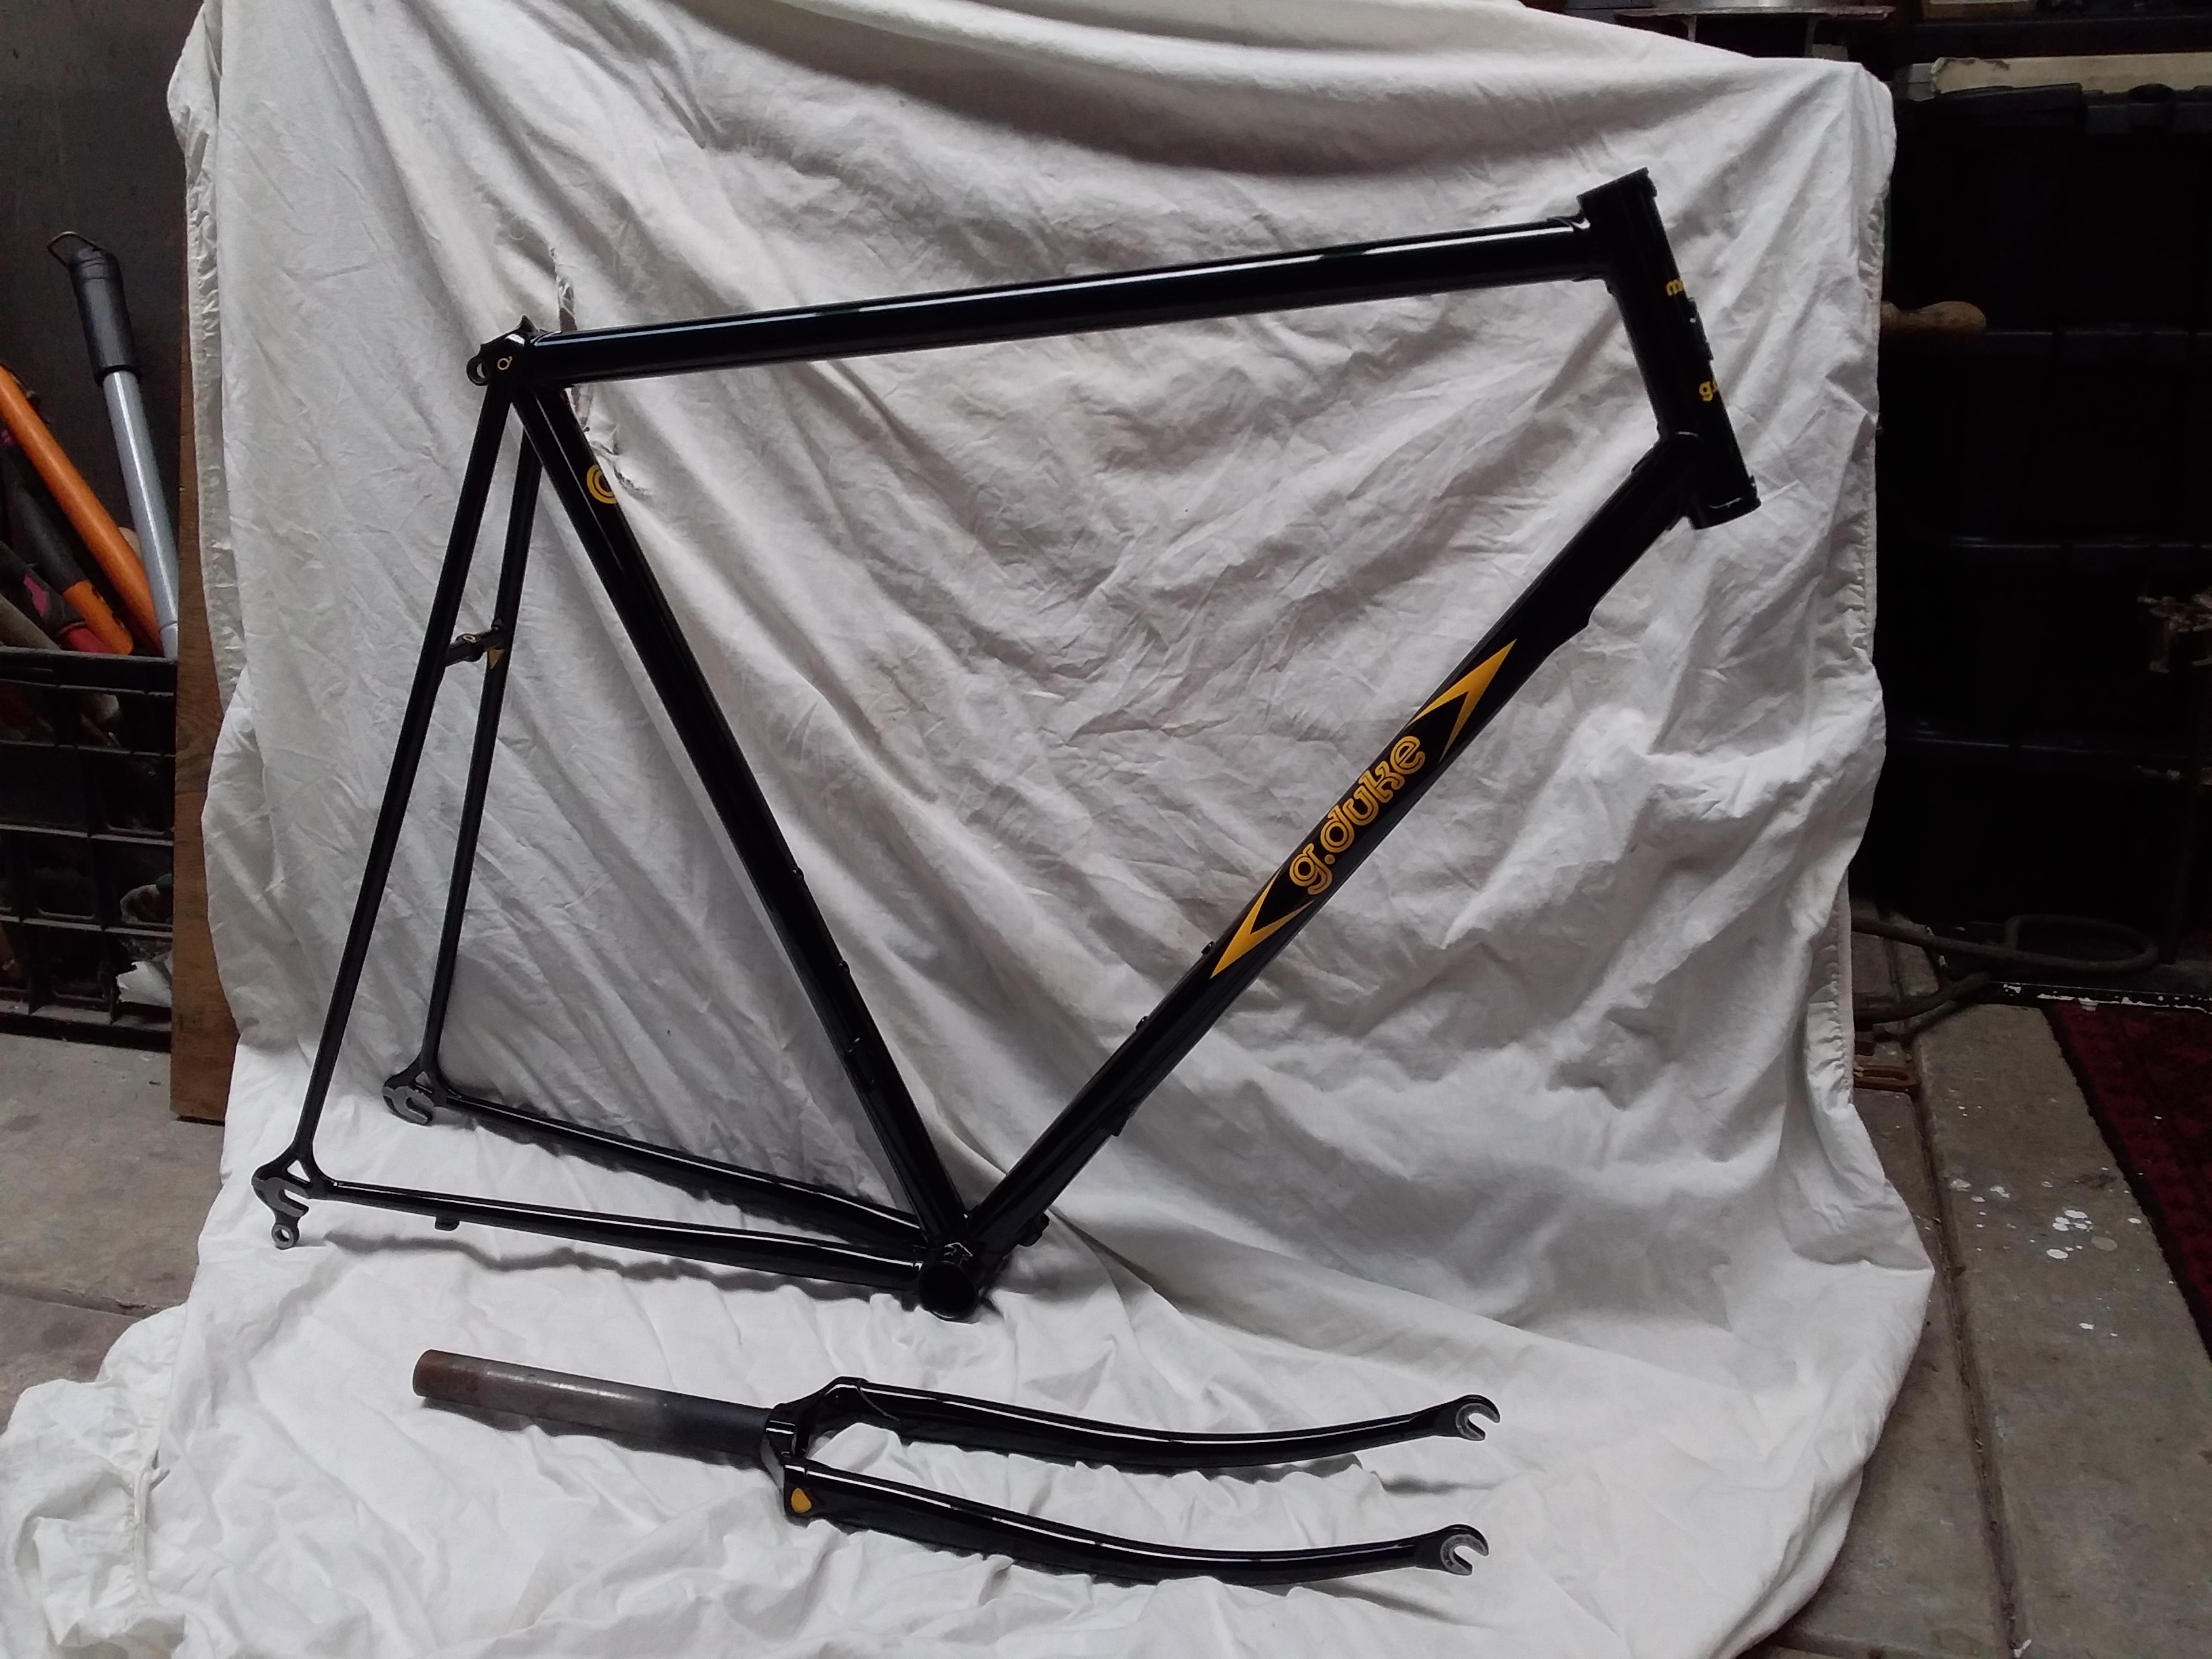

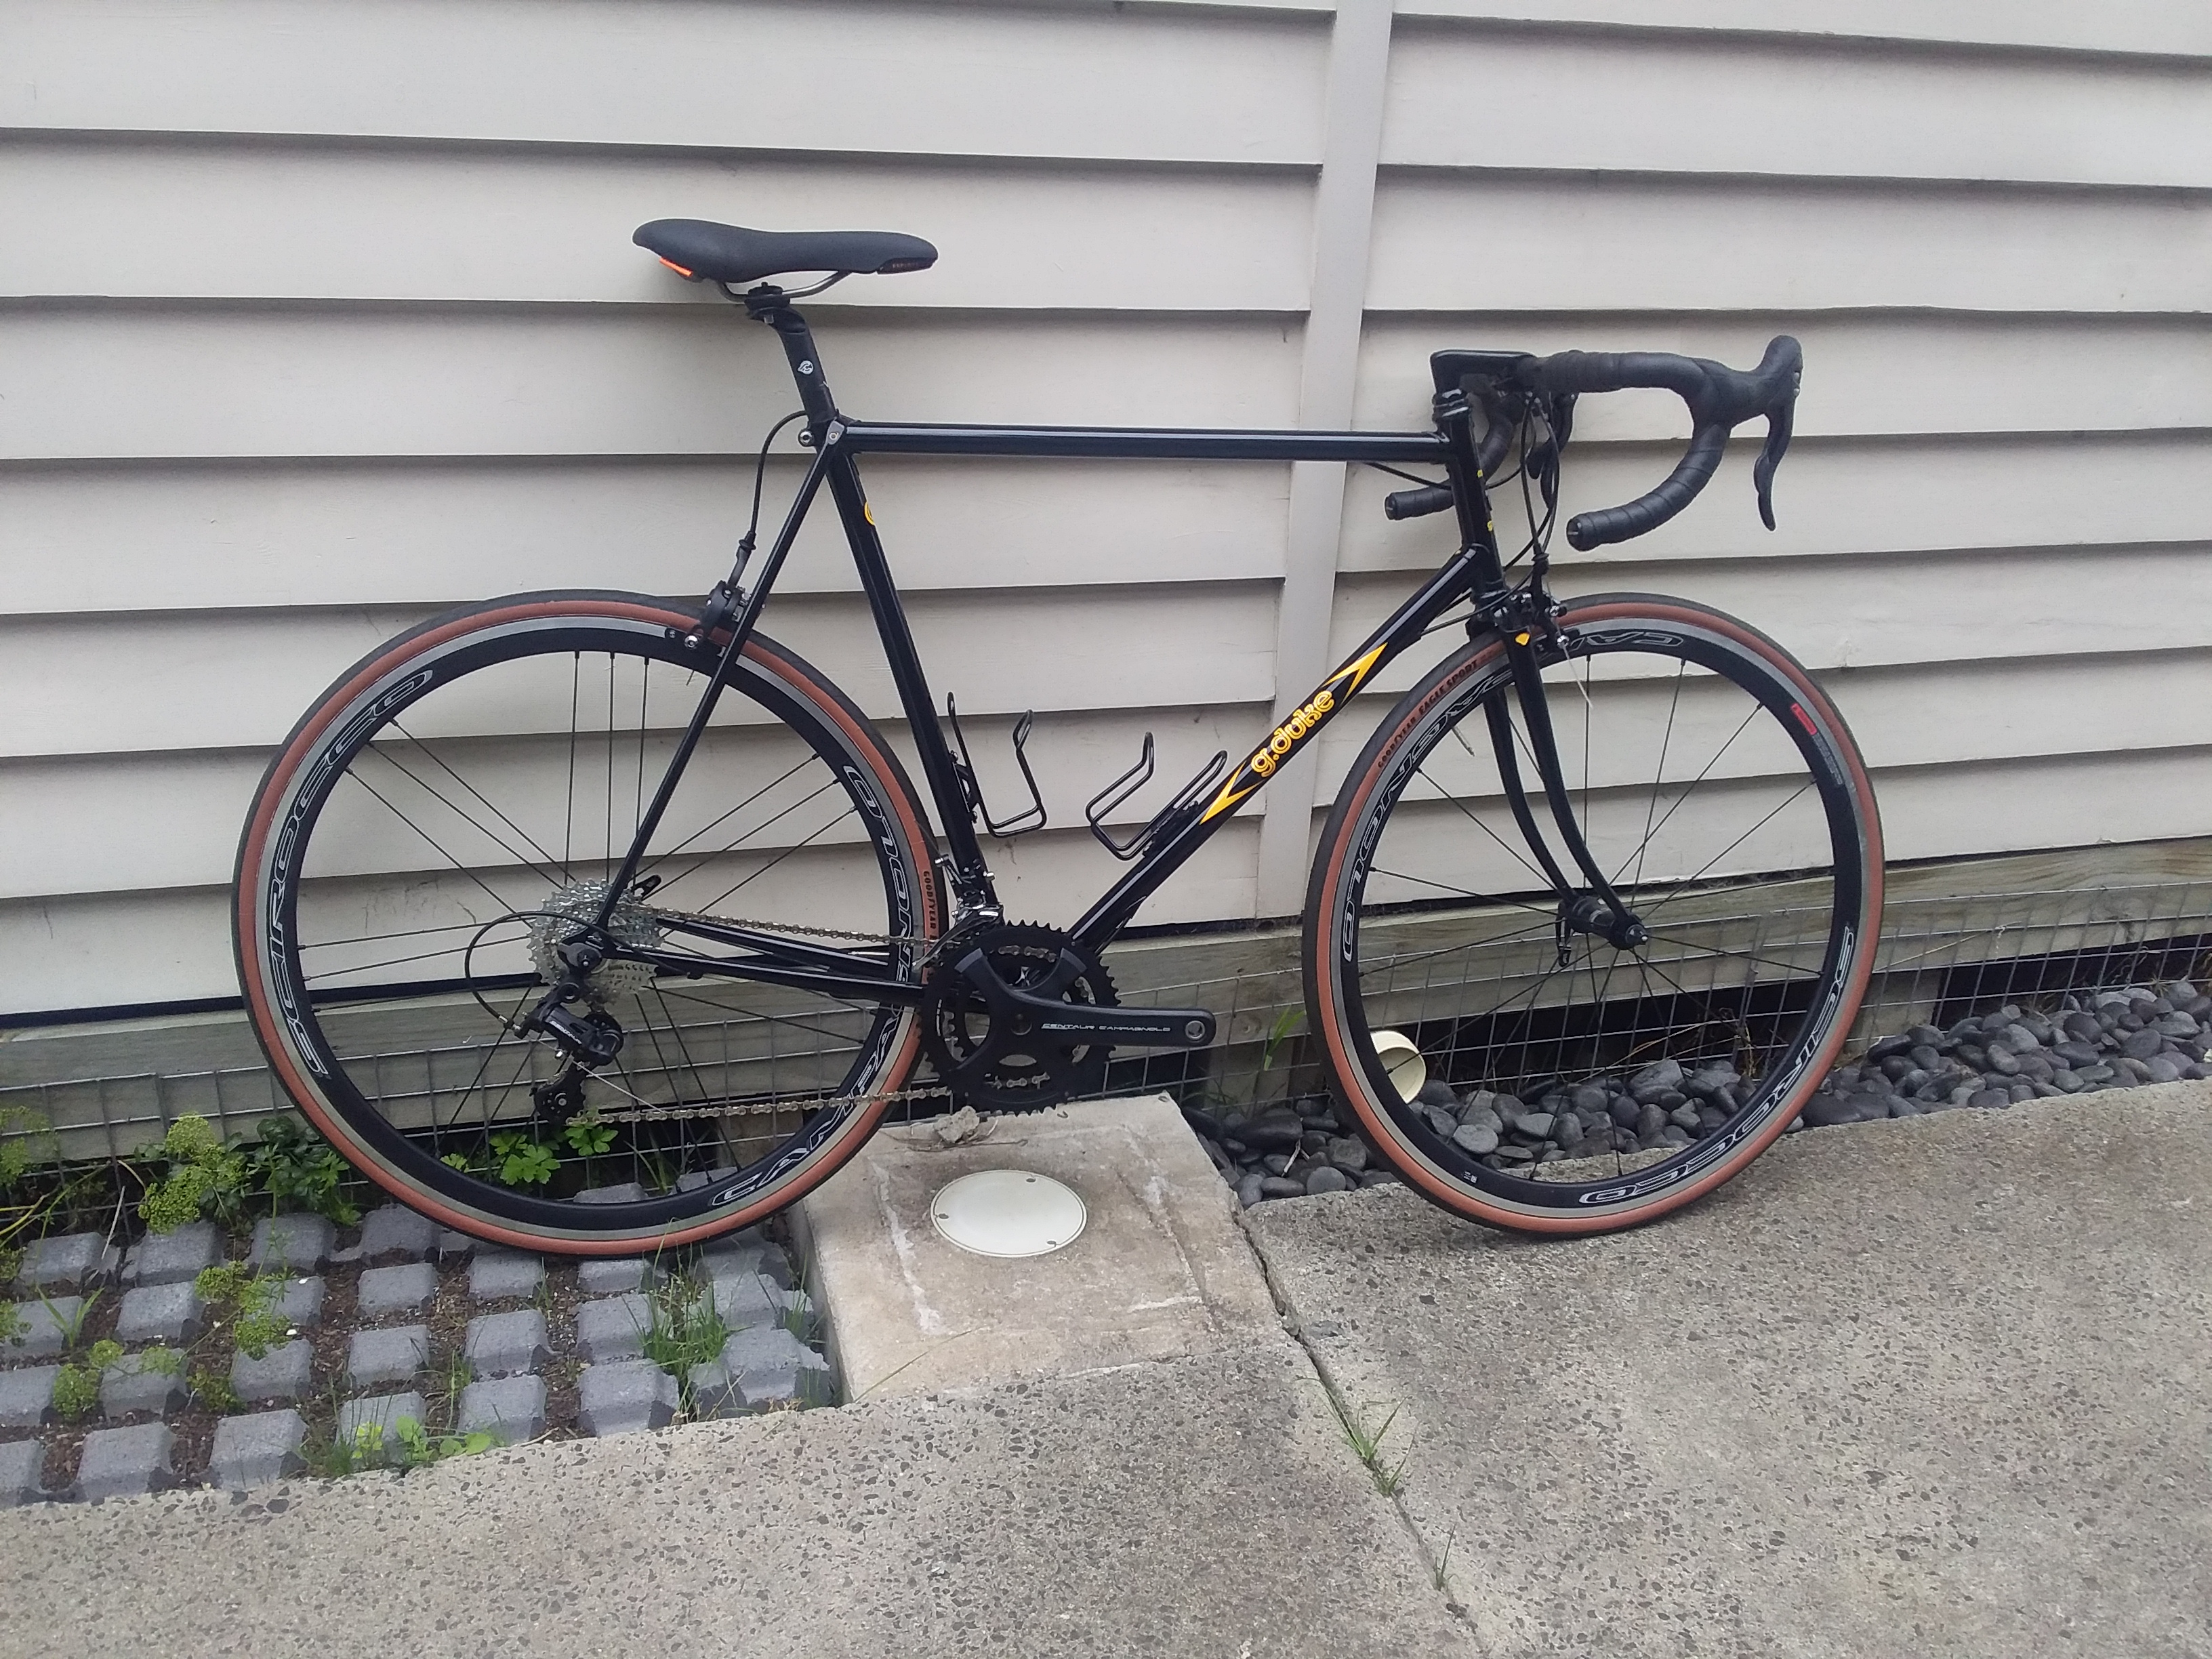
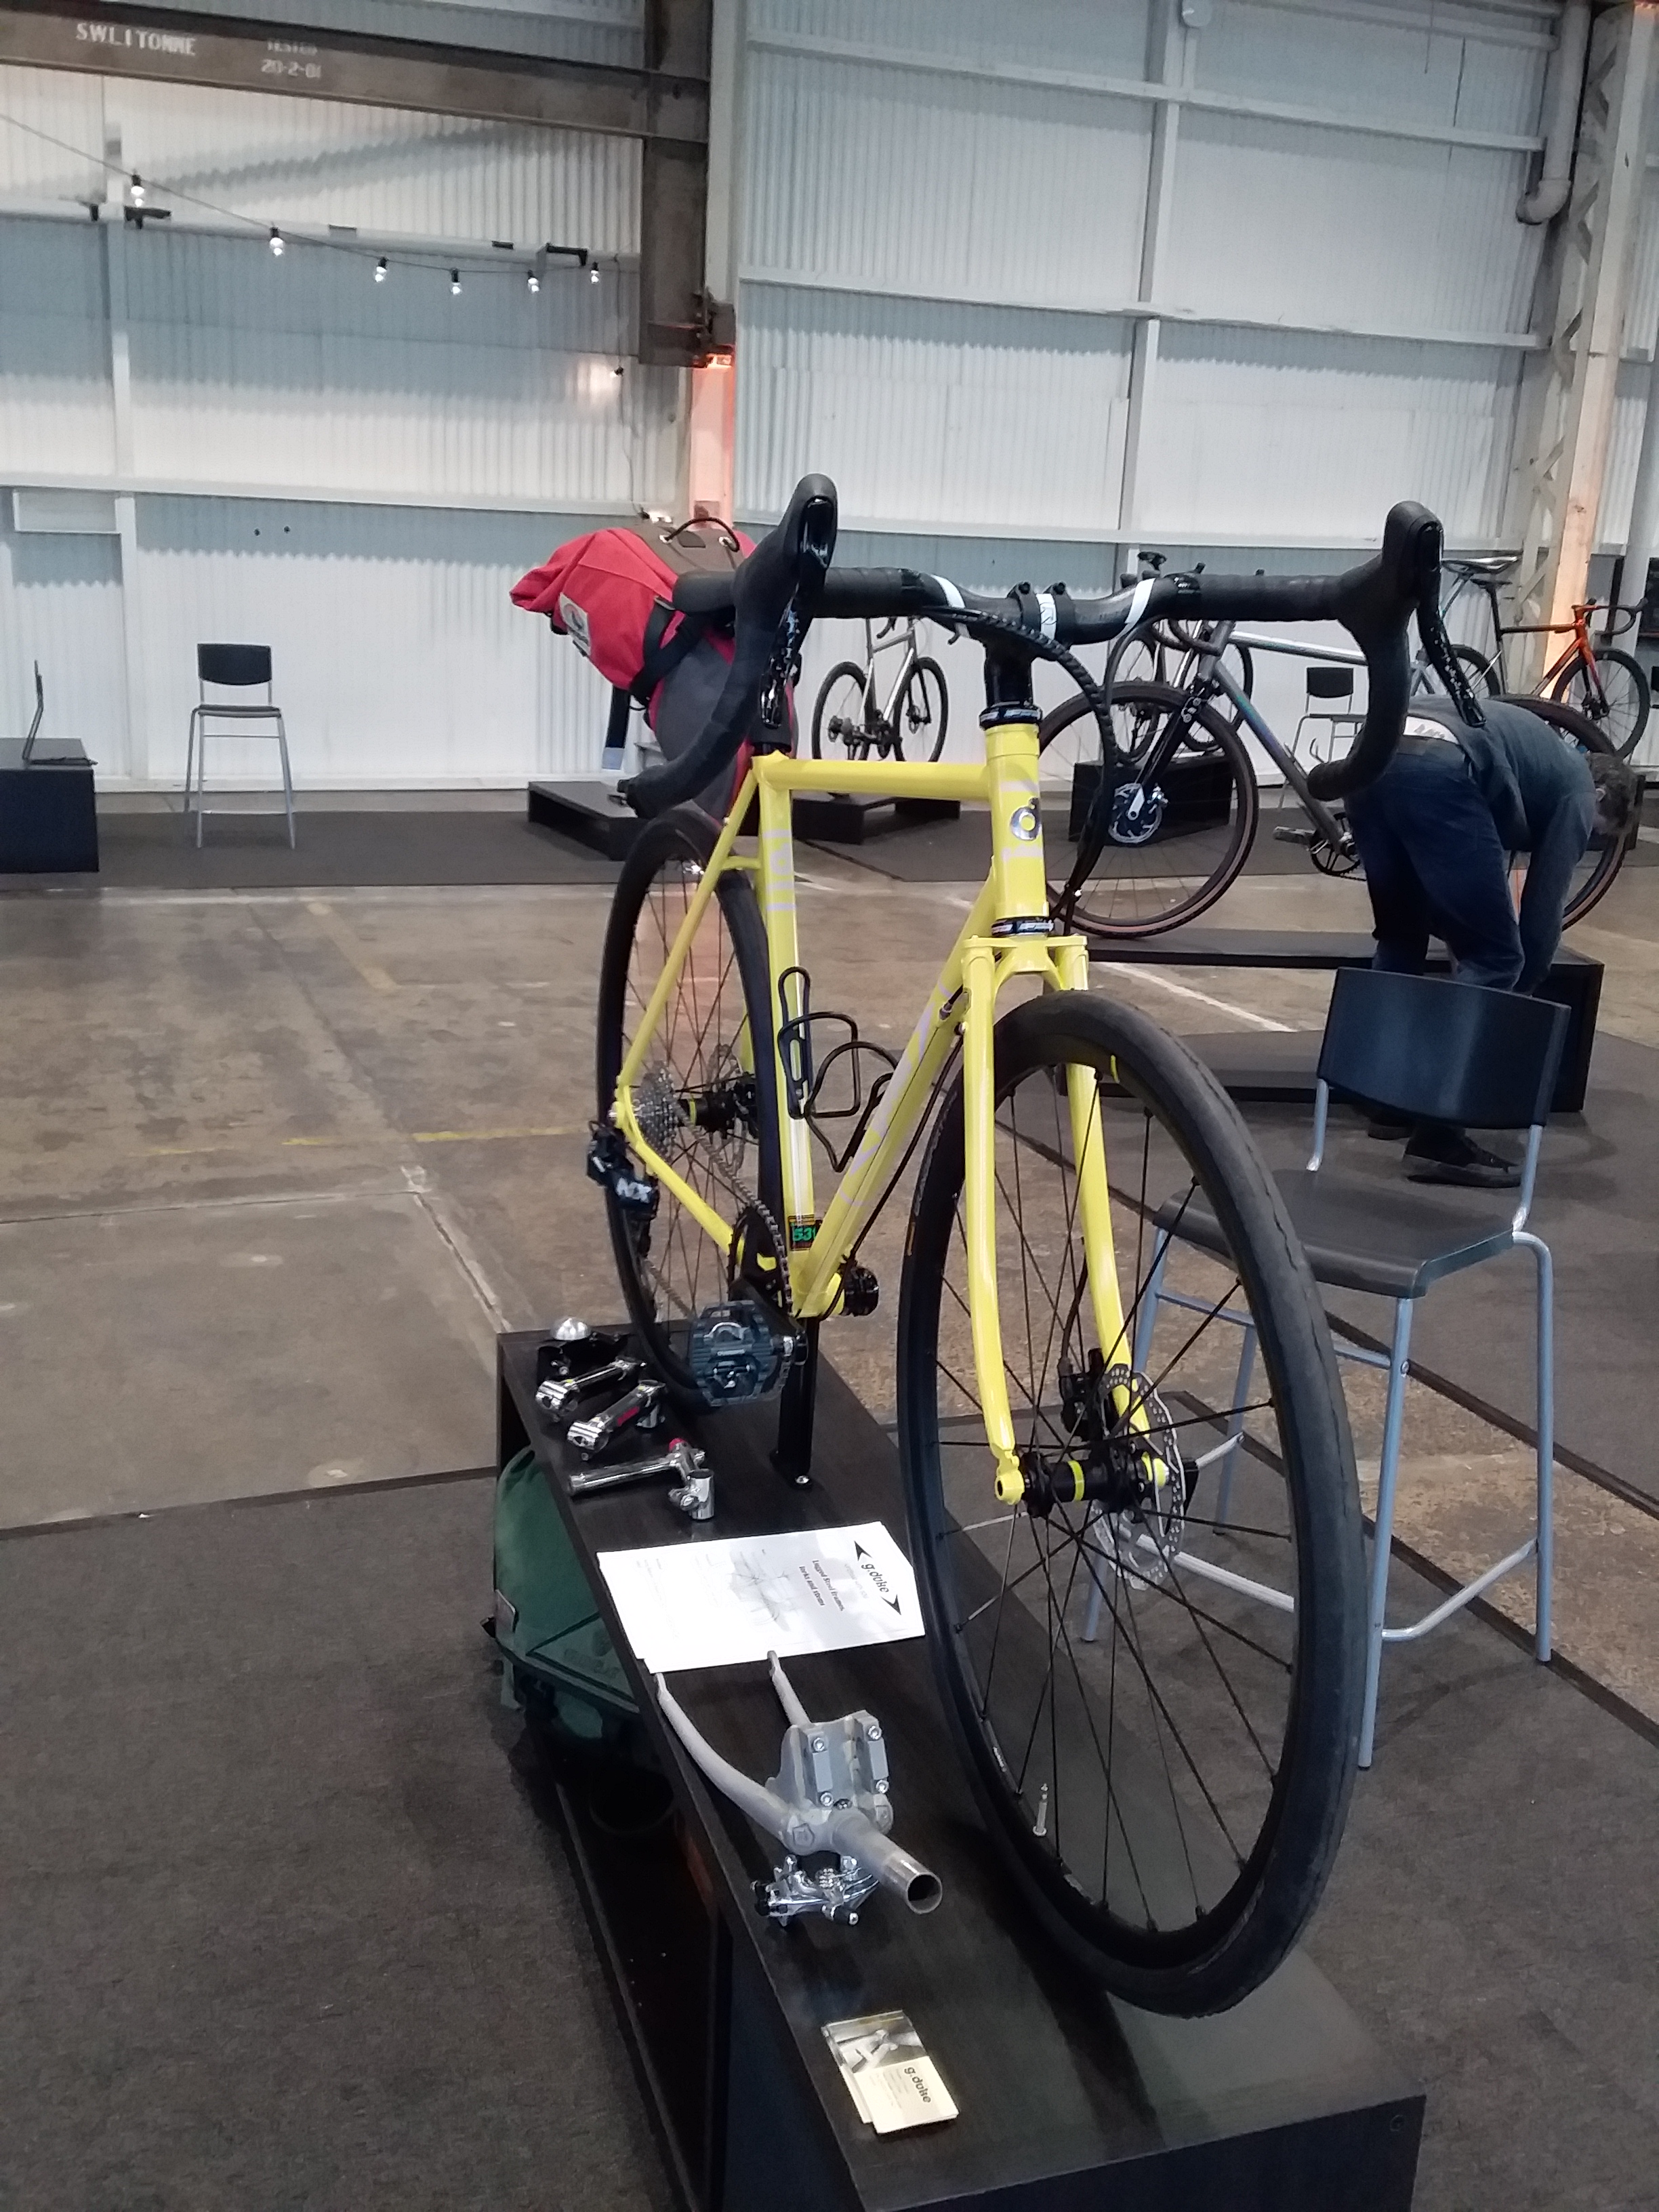
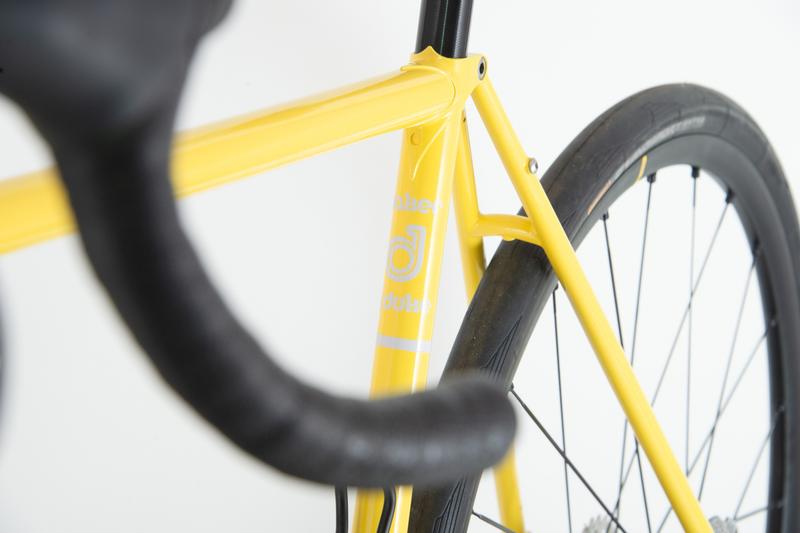
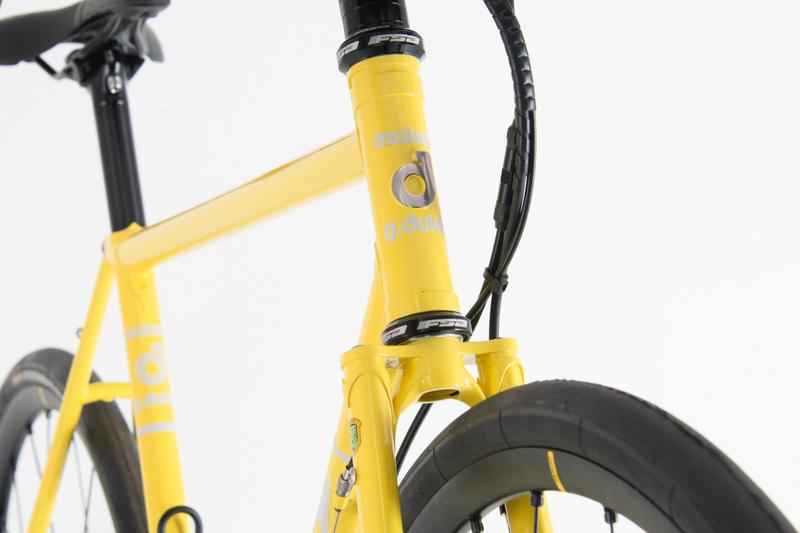
It was great to be part of the Handmade Bicycle Show in Melbourne yet again. While it is a tiring weekend talking about what I do and what I have on display it is always good to catch up with other frame builders and see what they have brought along as well as meet visitors to the show. This year I was again fortunate to have a customers bike that I had just finished and he had been gracious enough to let me keep for a couple more weeks. Its a single speed for the road. Modeled on a Lejune track bike that he already owns. I used a set of Tange #1 tubing that I had, had, in storage and a set of Suntour dropouts. The panto-graphing was my first on a clients bike after picking up the machine earlier in the year. Paint by Sun Graphics who was also at the show. Thanks Steve. Photos by Dave Rome at the Escape collective


I know it has been some time since I posted here. If you have been following my Instagram pages you would know work hasn’t dried up. In fact i suspect that Covid has brought out more projects than before.
I did think this was a story worth posting here though
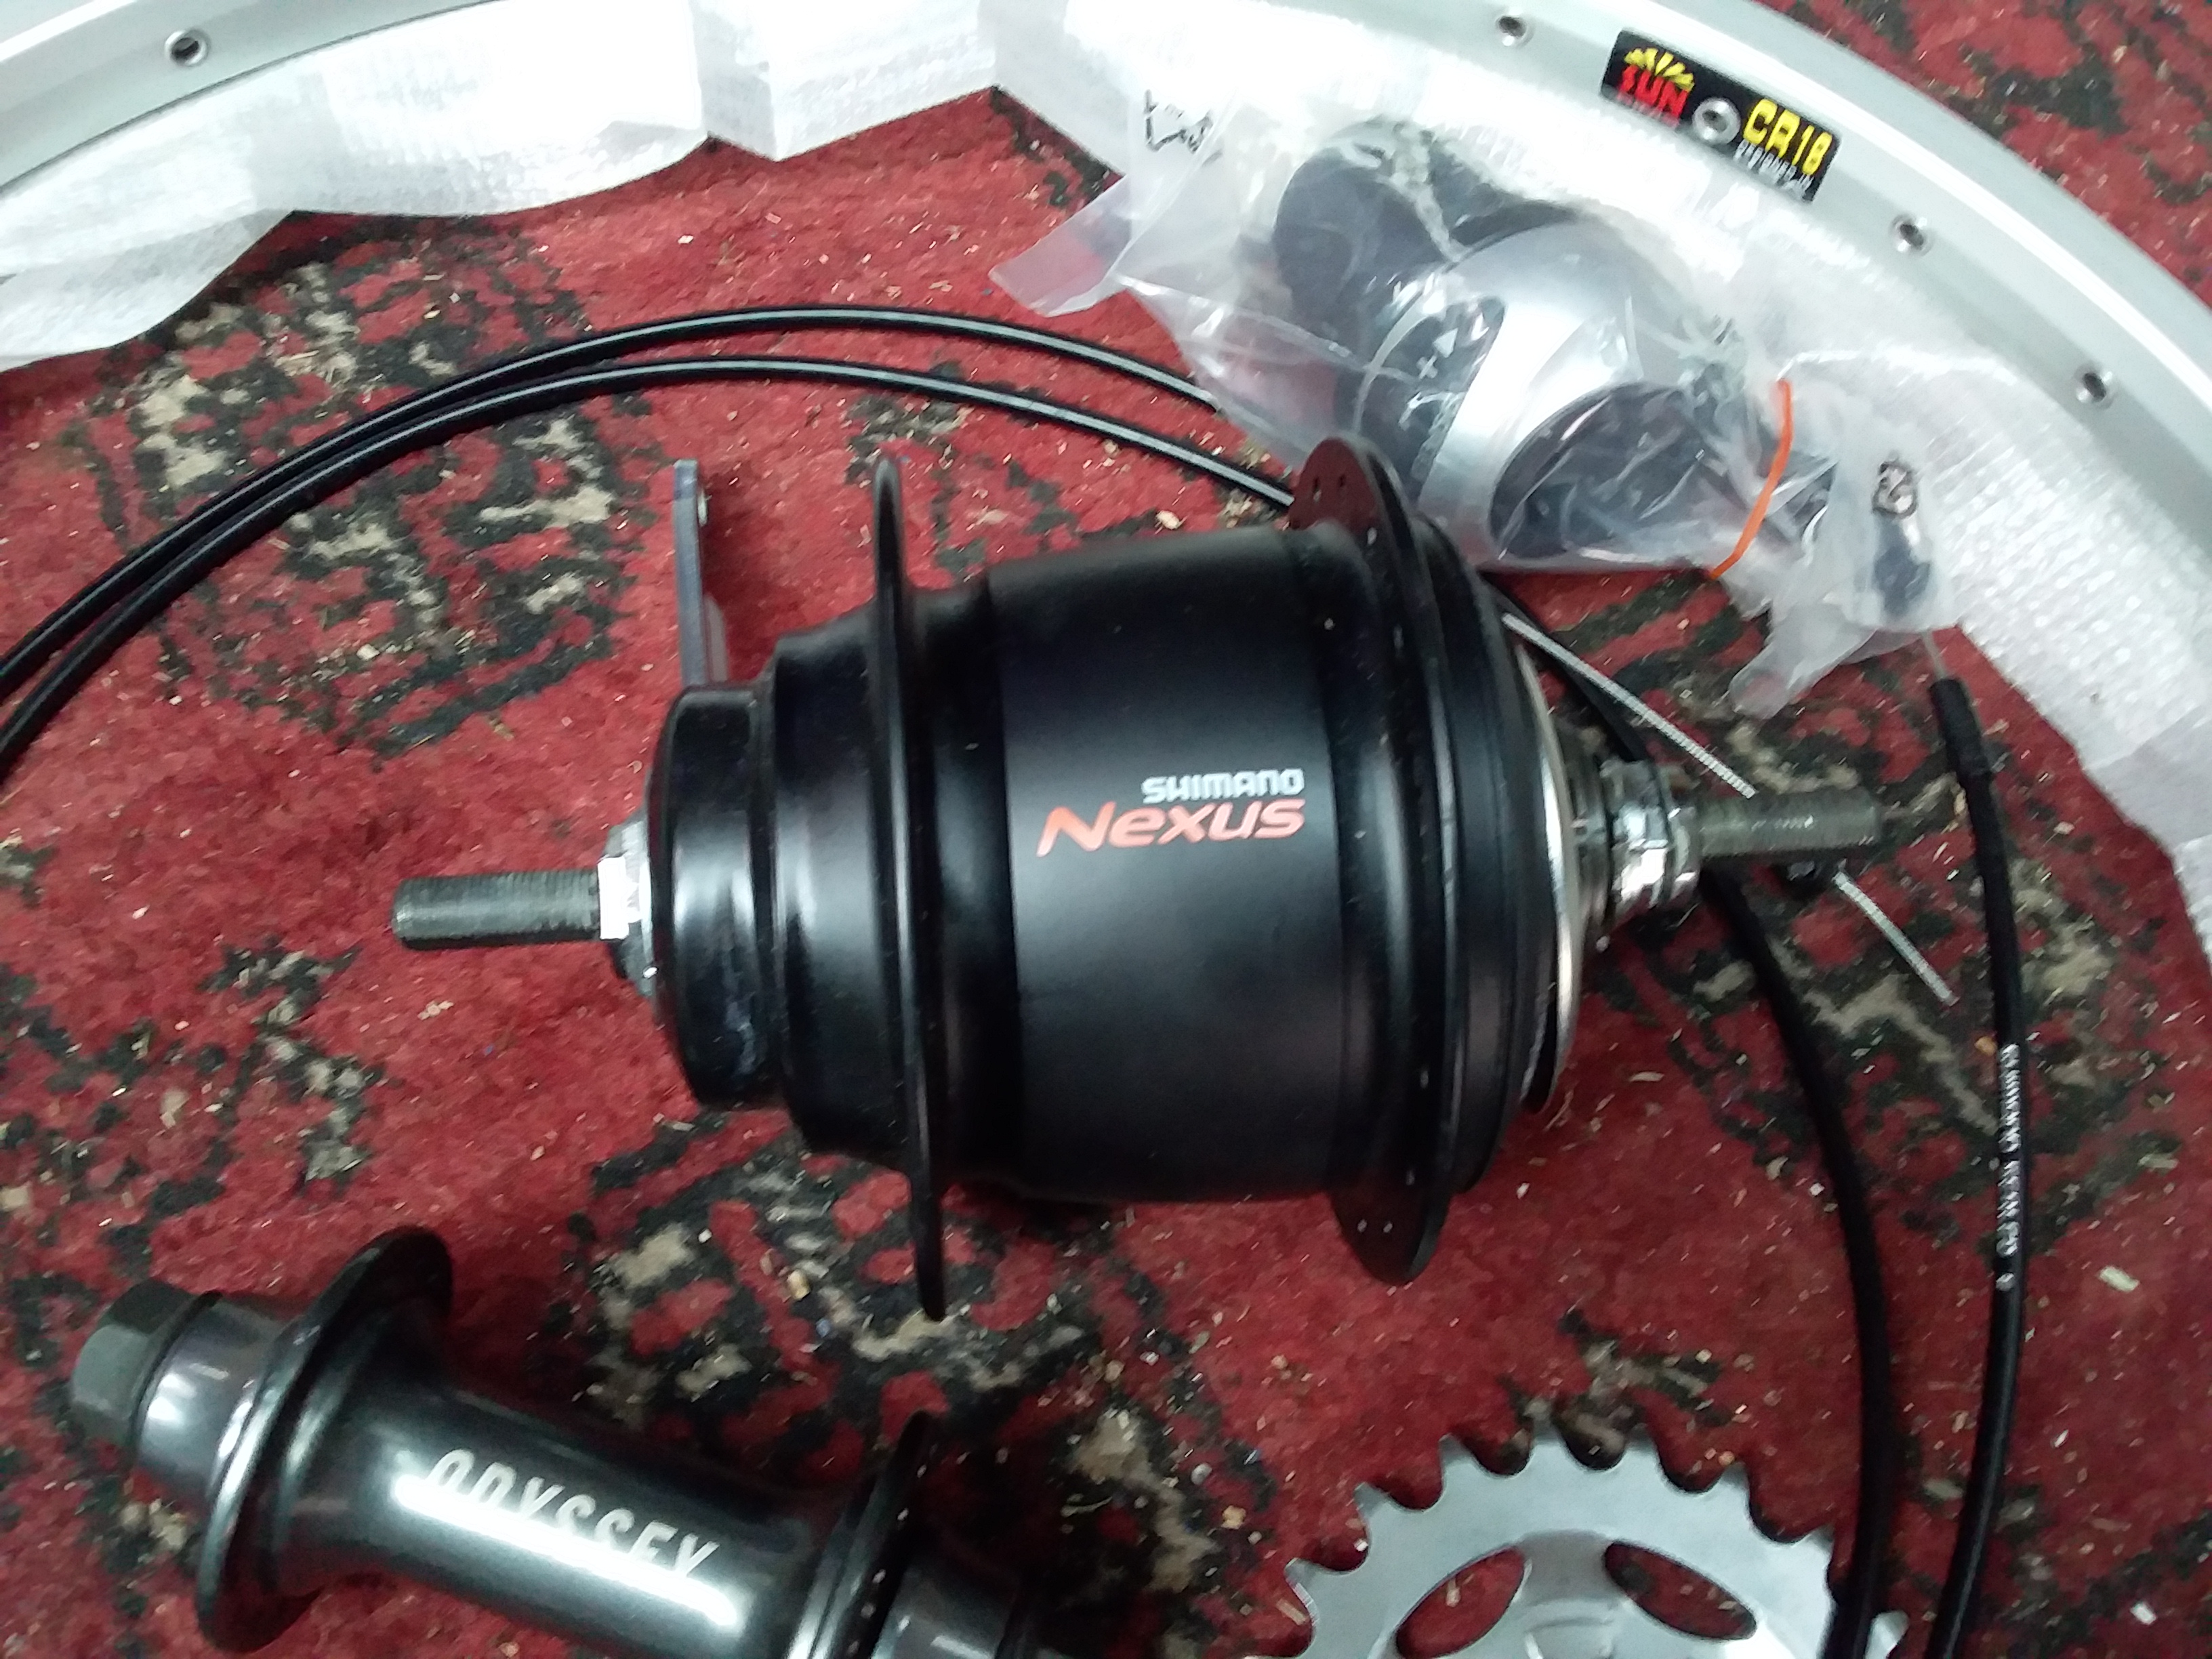
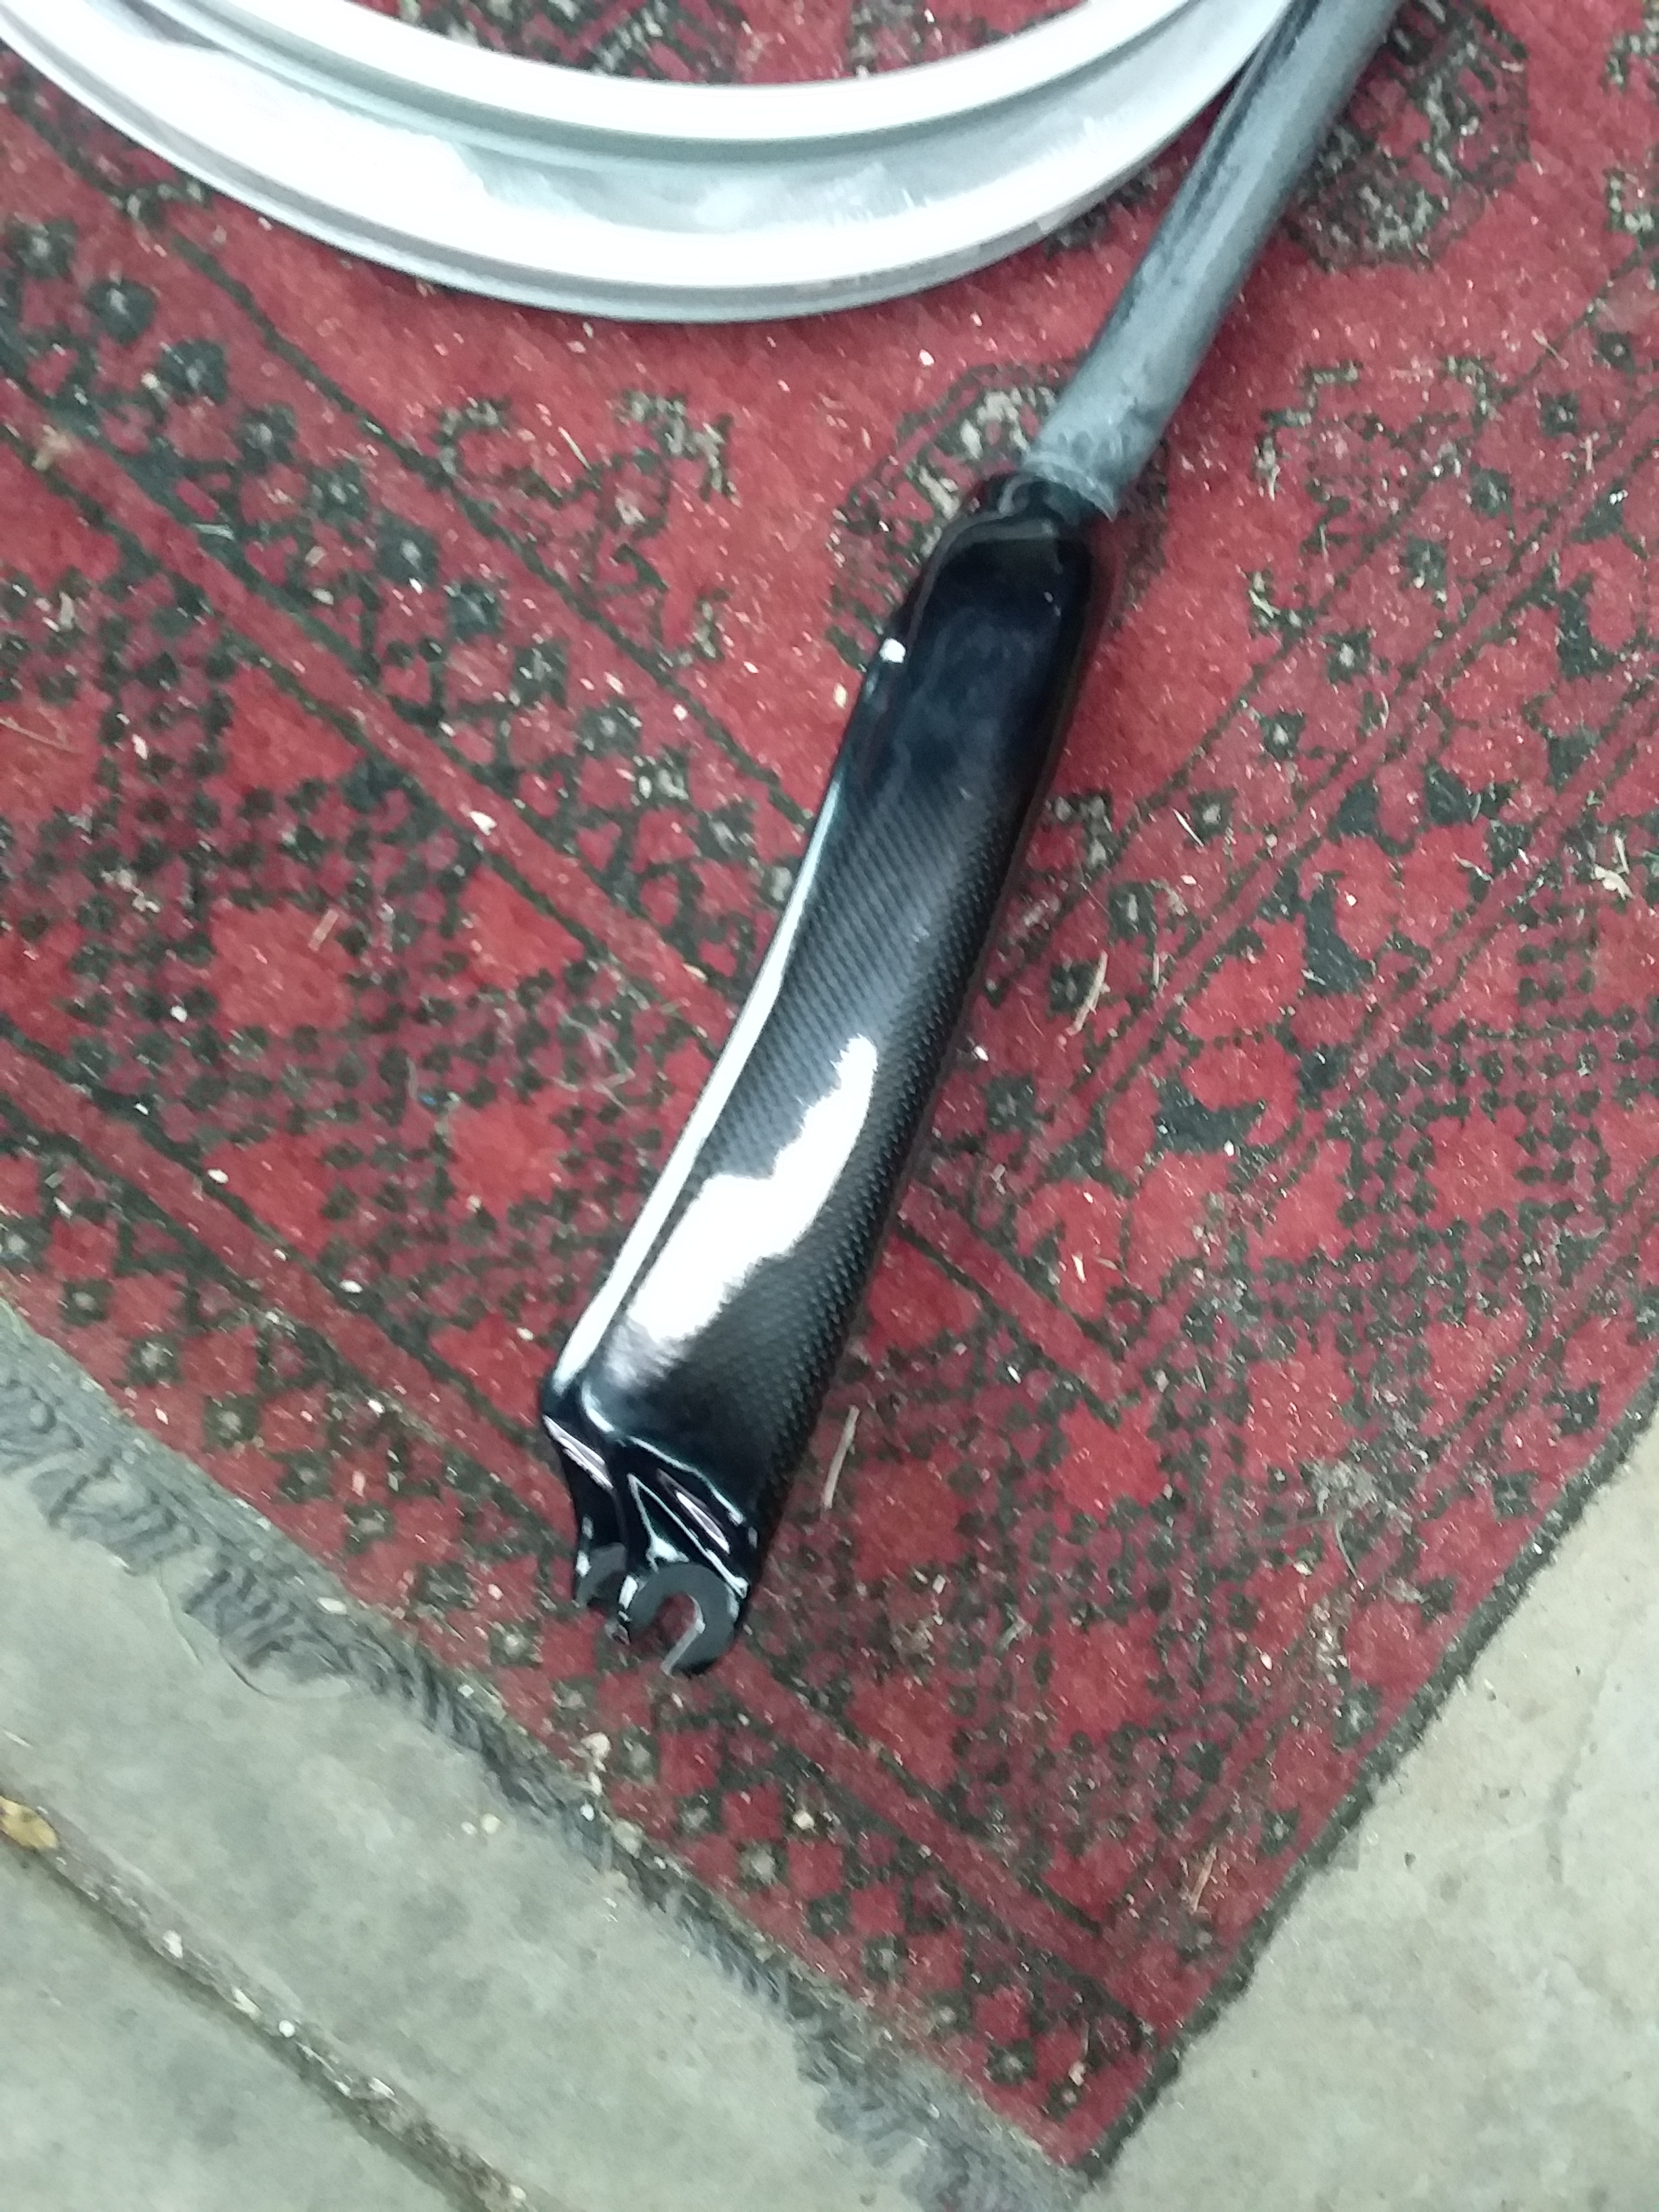
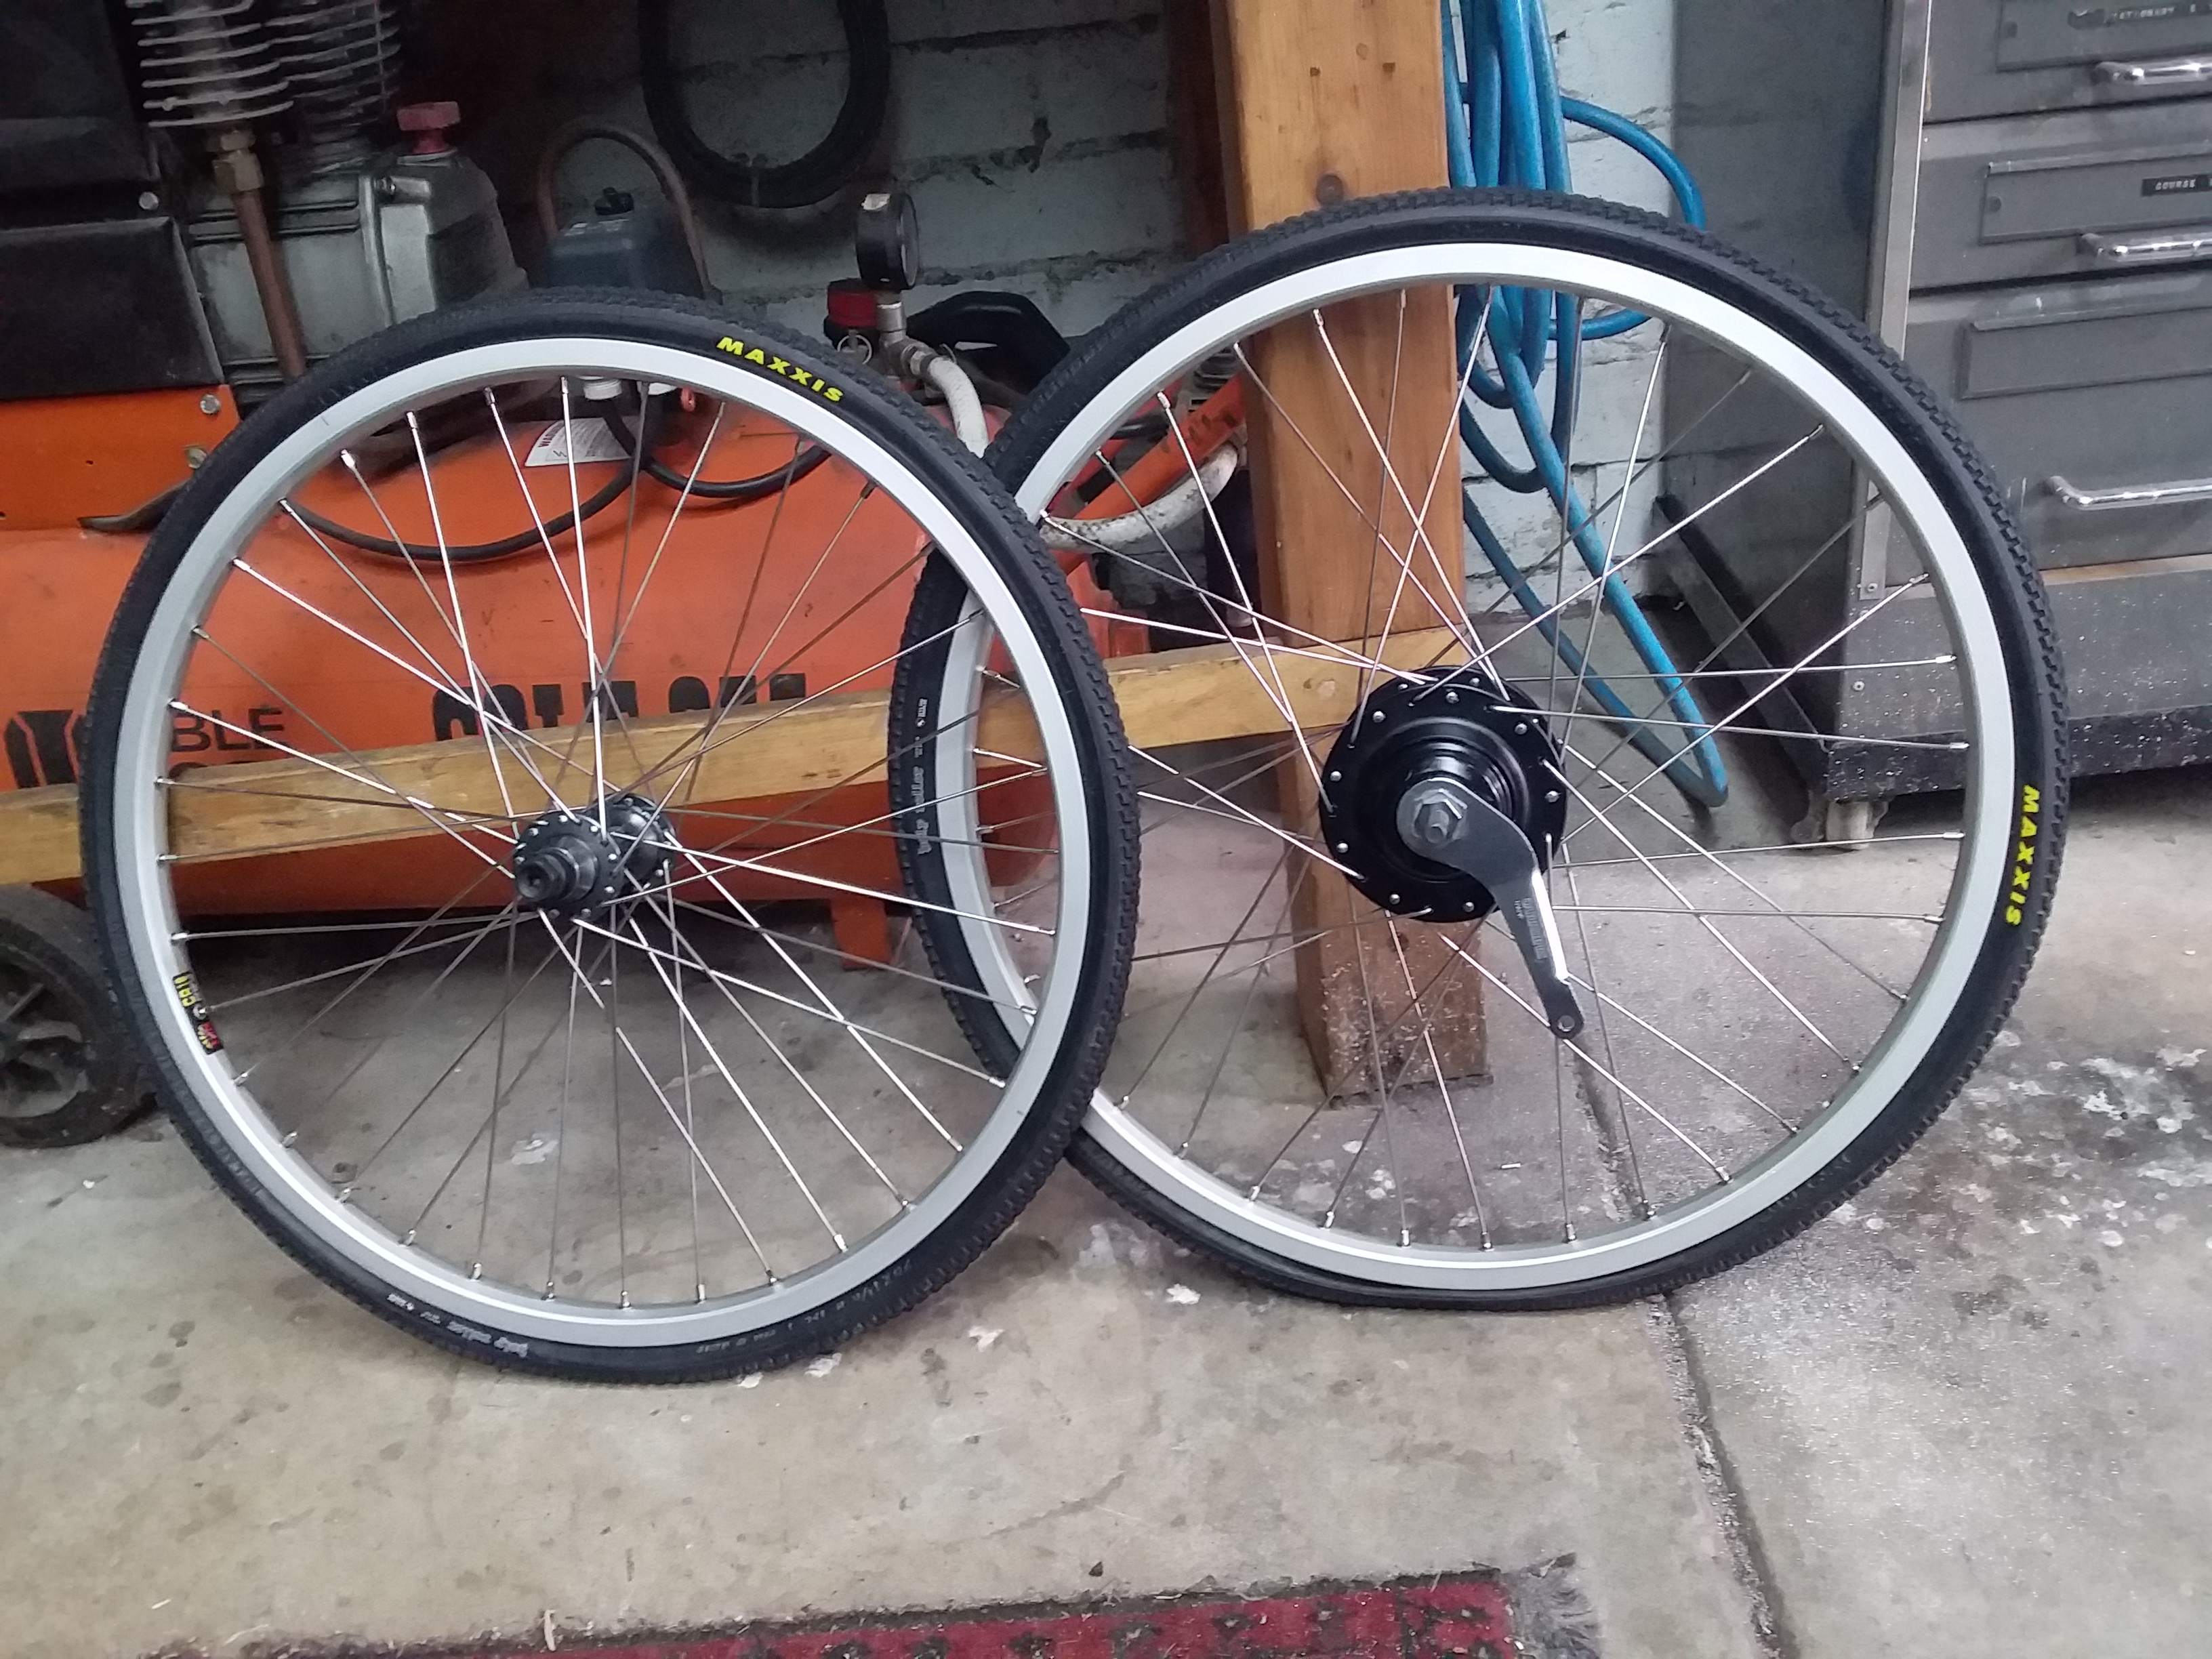
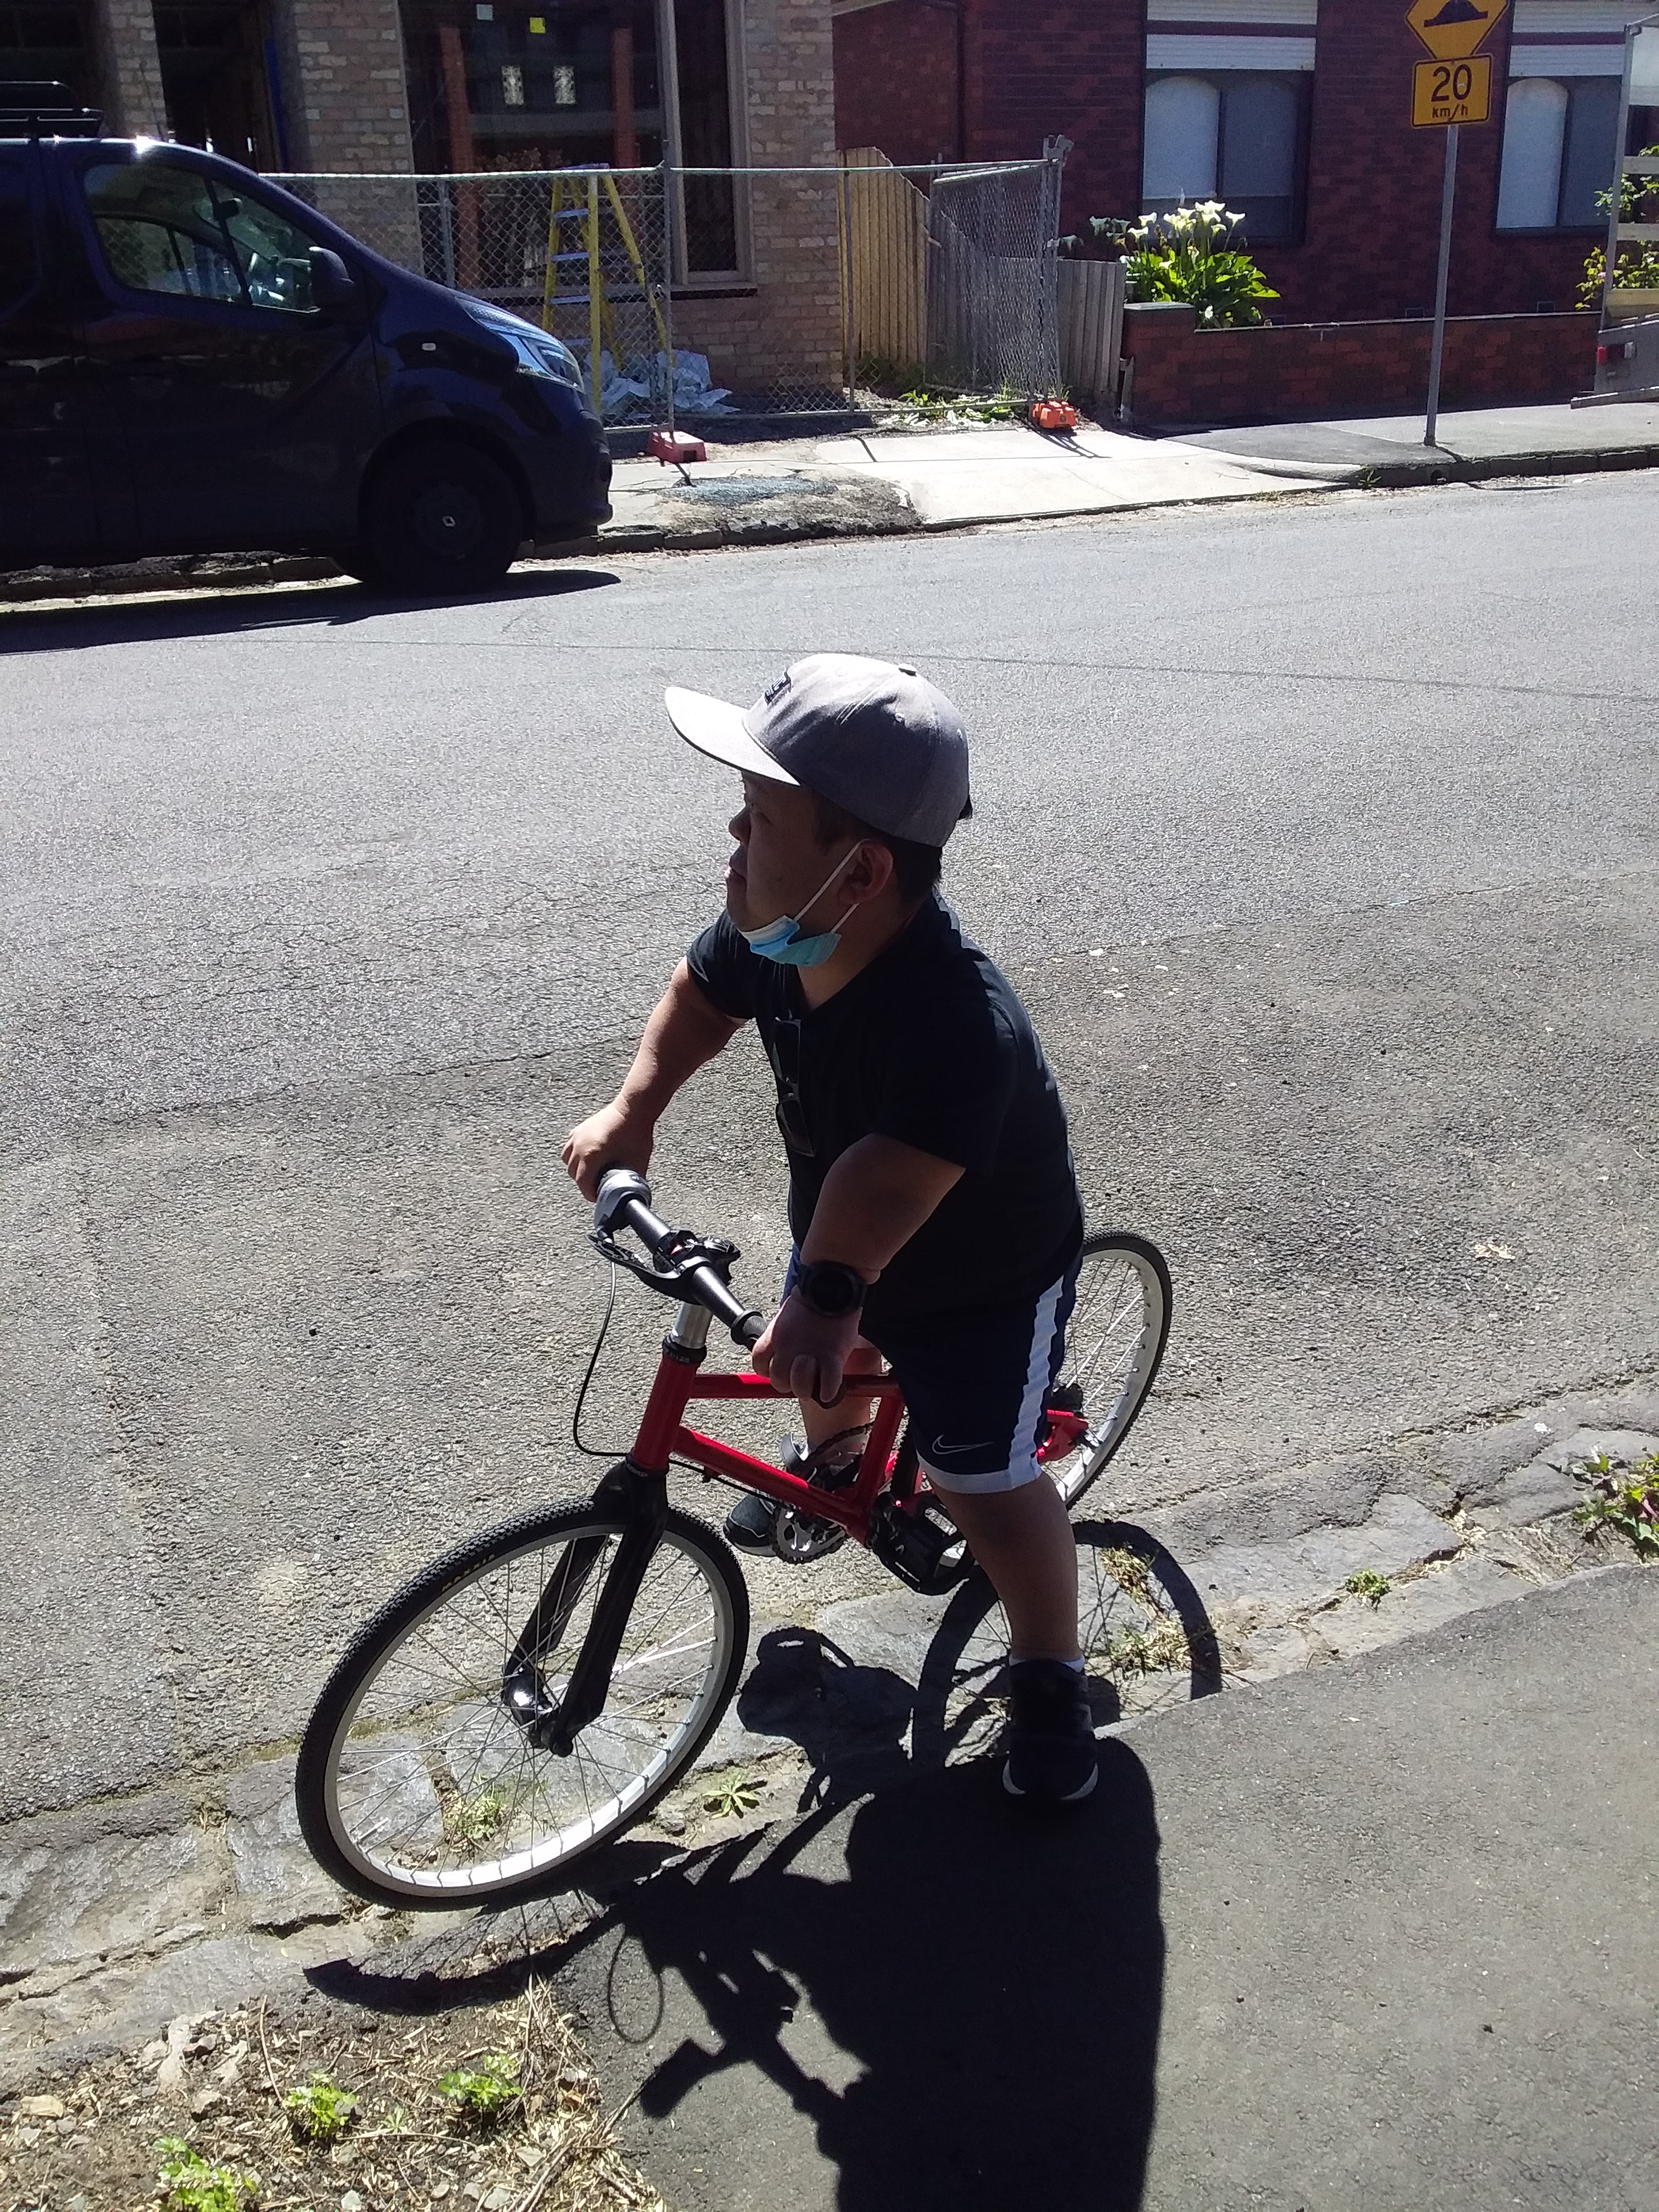
About two years ago I was approached about building a bicycle for someone of short stature. I was immediately interested and met with Sammy and his physio Cam.We took some initial measurements and I left with a list of preferences to mock up what might be needed. Sammy’s idea was for a 20 inch wheel bike with an internally geared hub with back pedal brake. He has one leg significantly shorter than the other. This required two cranks of different length. I ordered a 20 inch carbon fork and a Nexus 8 spd hub from the UK (NOS)along with a set of the right size rims and tires. I learnt that there are at least 3 different diameters of nominally 20 inch rim. I built the wheels to start so I had something to work around. I tacked together a working frame and mocked up a set of old cranks with a row of alternative pedal holes so we could adjust the crank lengths.
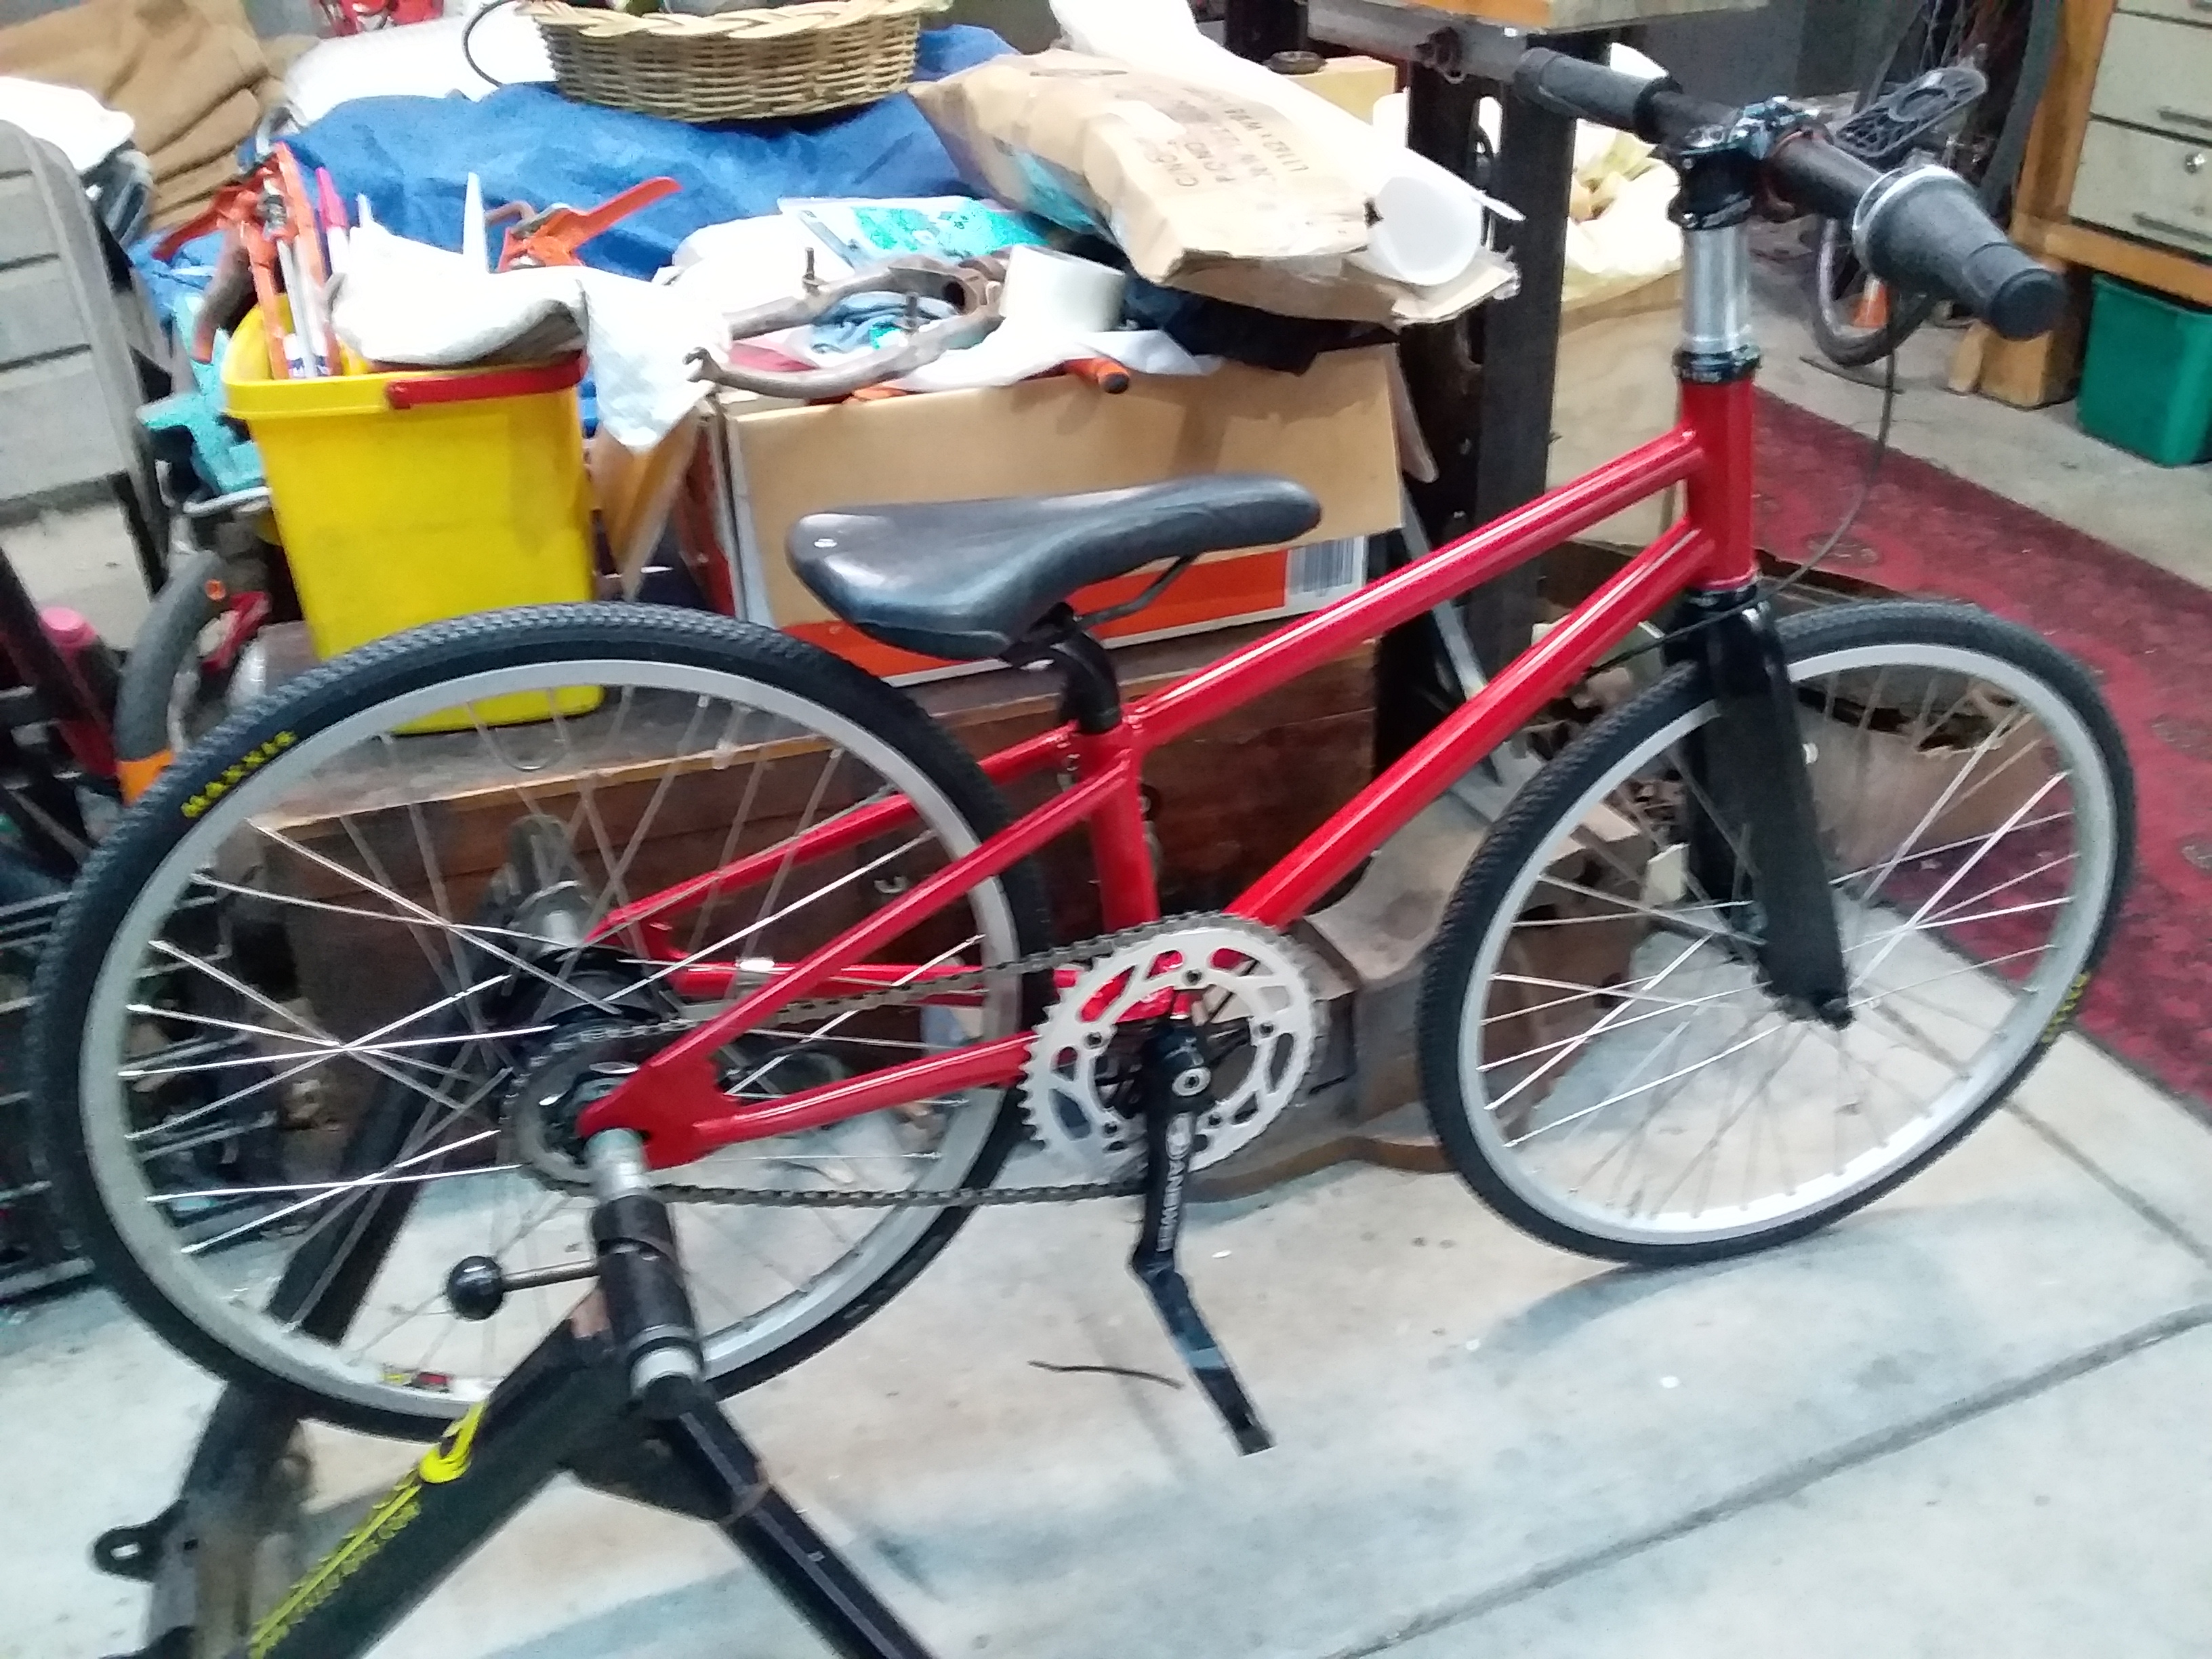
When Covid restrictions allowed Sammy and Cam came over and we tried things out on a home trainer. I discovered that while he could pedal he couldn’t swing his leg over the bike. I lowered the top tube and we played some more with the crank lengths. Finally I was happy enough to braze up the frame and order two sets of BMX cranks in different lengths. I took one from each and we had our cranks. Once again we waited until we were allowed to meet and got together to actually try things out on the road before sending it for paint.
I sent it off that afternoon and the next week we went into what amounted to about 8 weeks of lockdown. I finally picked it up and assembled the complete bike. A couple of weeks ago Sammy came over to pick it up. It was a great thrill to see him so happy and a very satisfying experience to be able to get him out riding


Many Australian cyclists may have participated in or be aware of a 500km charity ride called the Murray to Moyne. This ride goes from the Murray river town of Mildura down to the coastal town of Port Fairy and raises money for charity. Its a team event and was started by a guy named Graham Woodrup in 1987. He lived in Port Fairy and was a very keen distance cyclist. At some time he visited the UK and organized the purchase of a Woodrup frame. There is a suggestion that he was distantly related. Over Easter this year I got to perform a series of updates to this very frame. I know its that frame because the current owner contacted Woodrup in he UK with the frame and fork numbers. Graham was unfortunately killed in 1992 while out training.
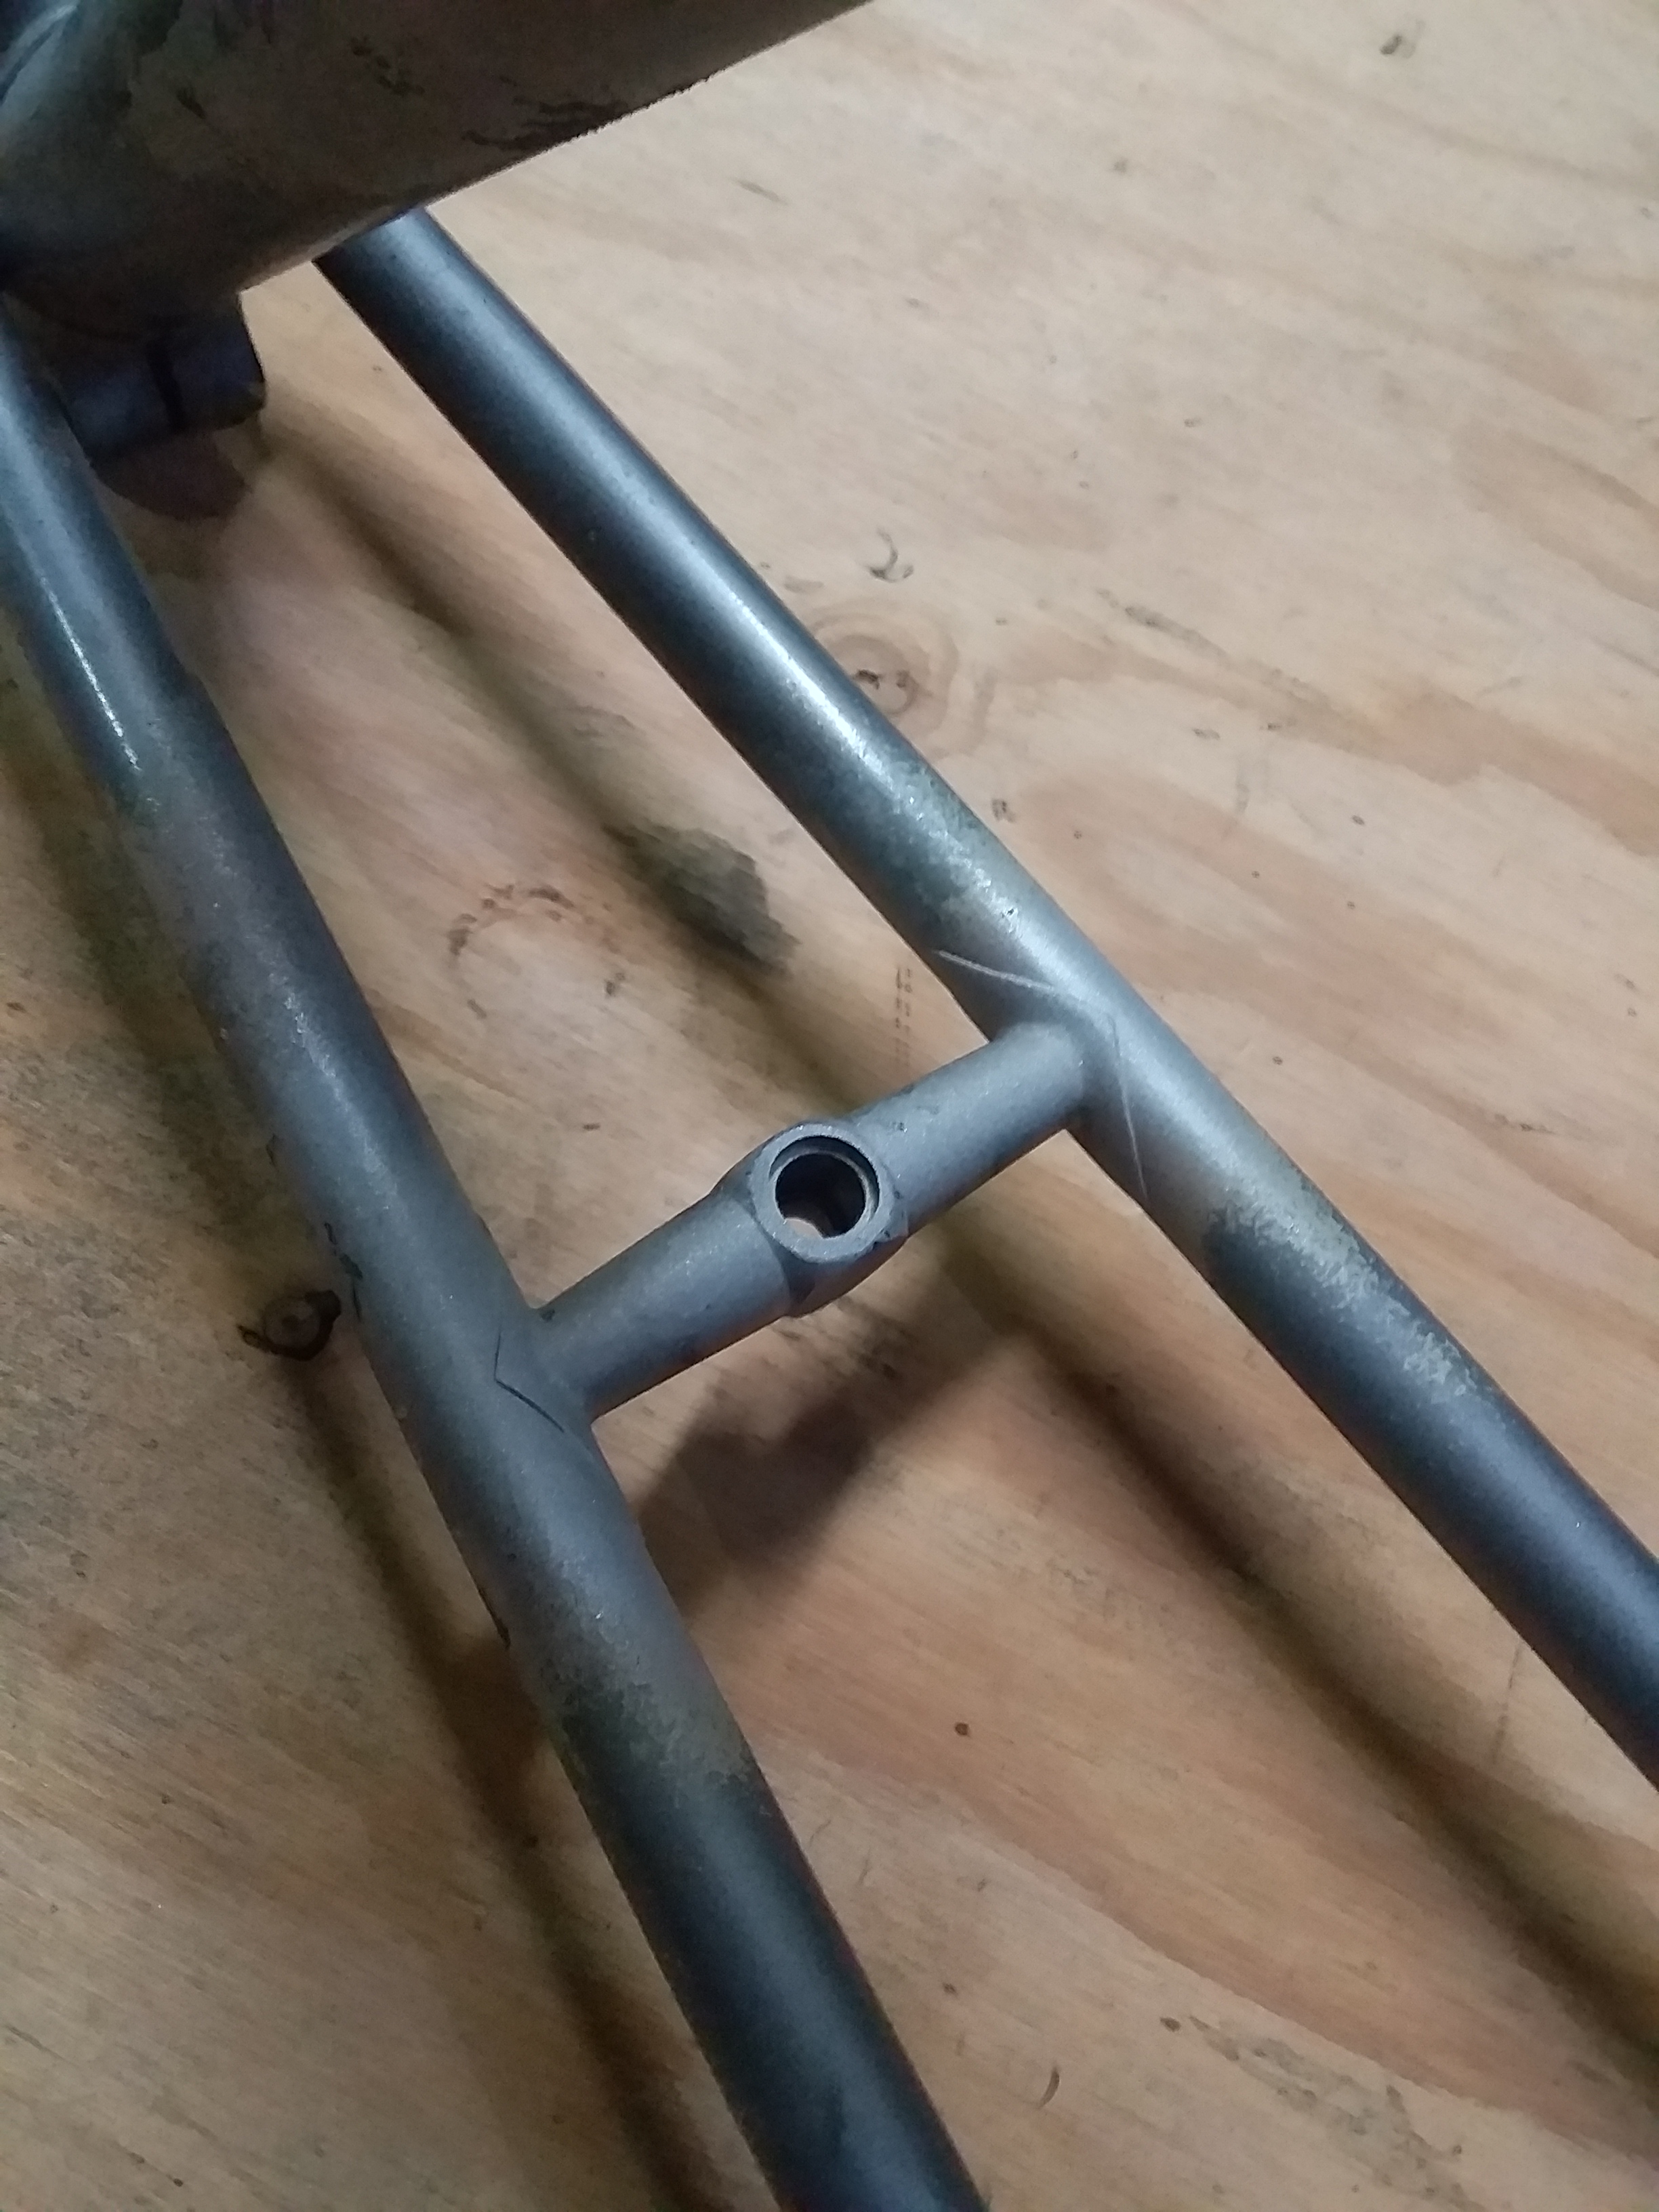
At the new owners request I moved the cable guides from on the top of the BB shell and chainstay to underneath. I spread the rear stays to take a 10spd hub and squared up the dropouts. I added a set of braze on lever bosses and a braze on frontderalieur mount. I modified the brake mounting holes to accept recessed nuts and filled a couple of dents. It should be good for another 40 years now. I hope Graham would approve


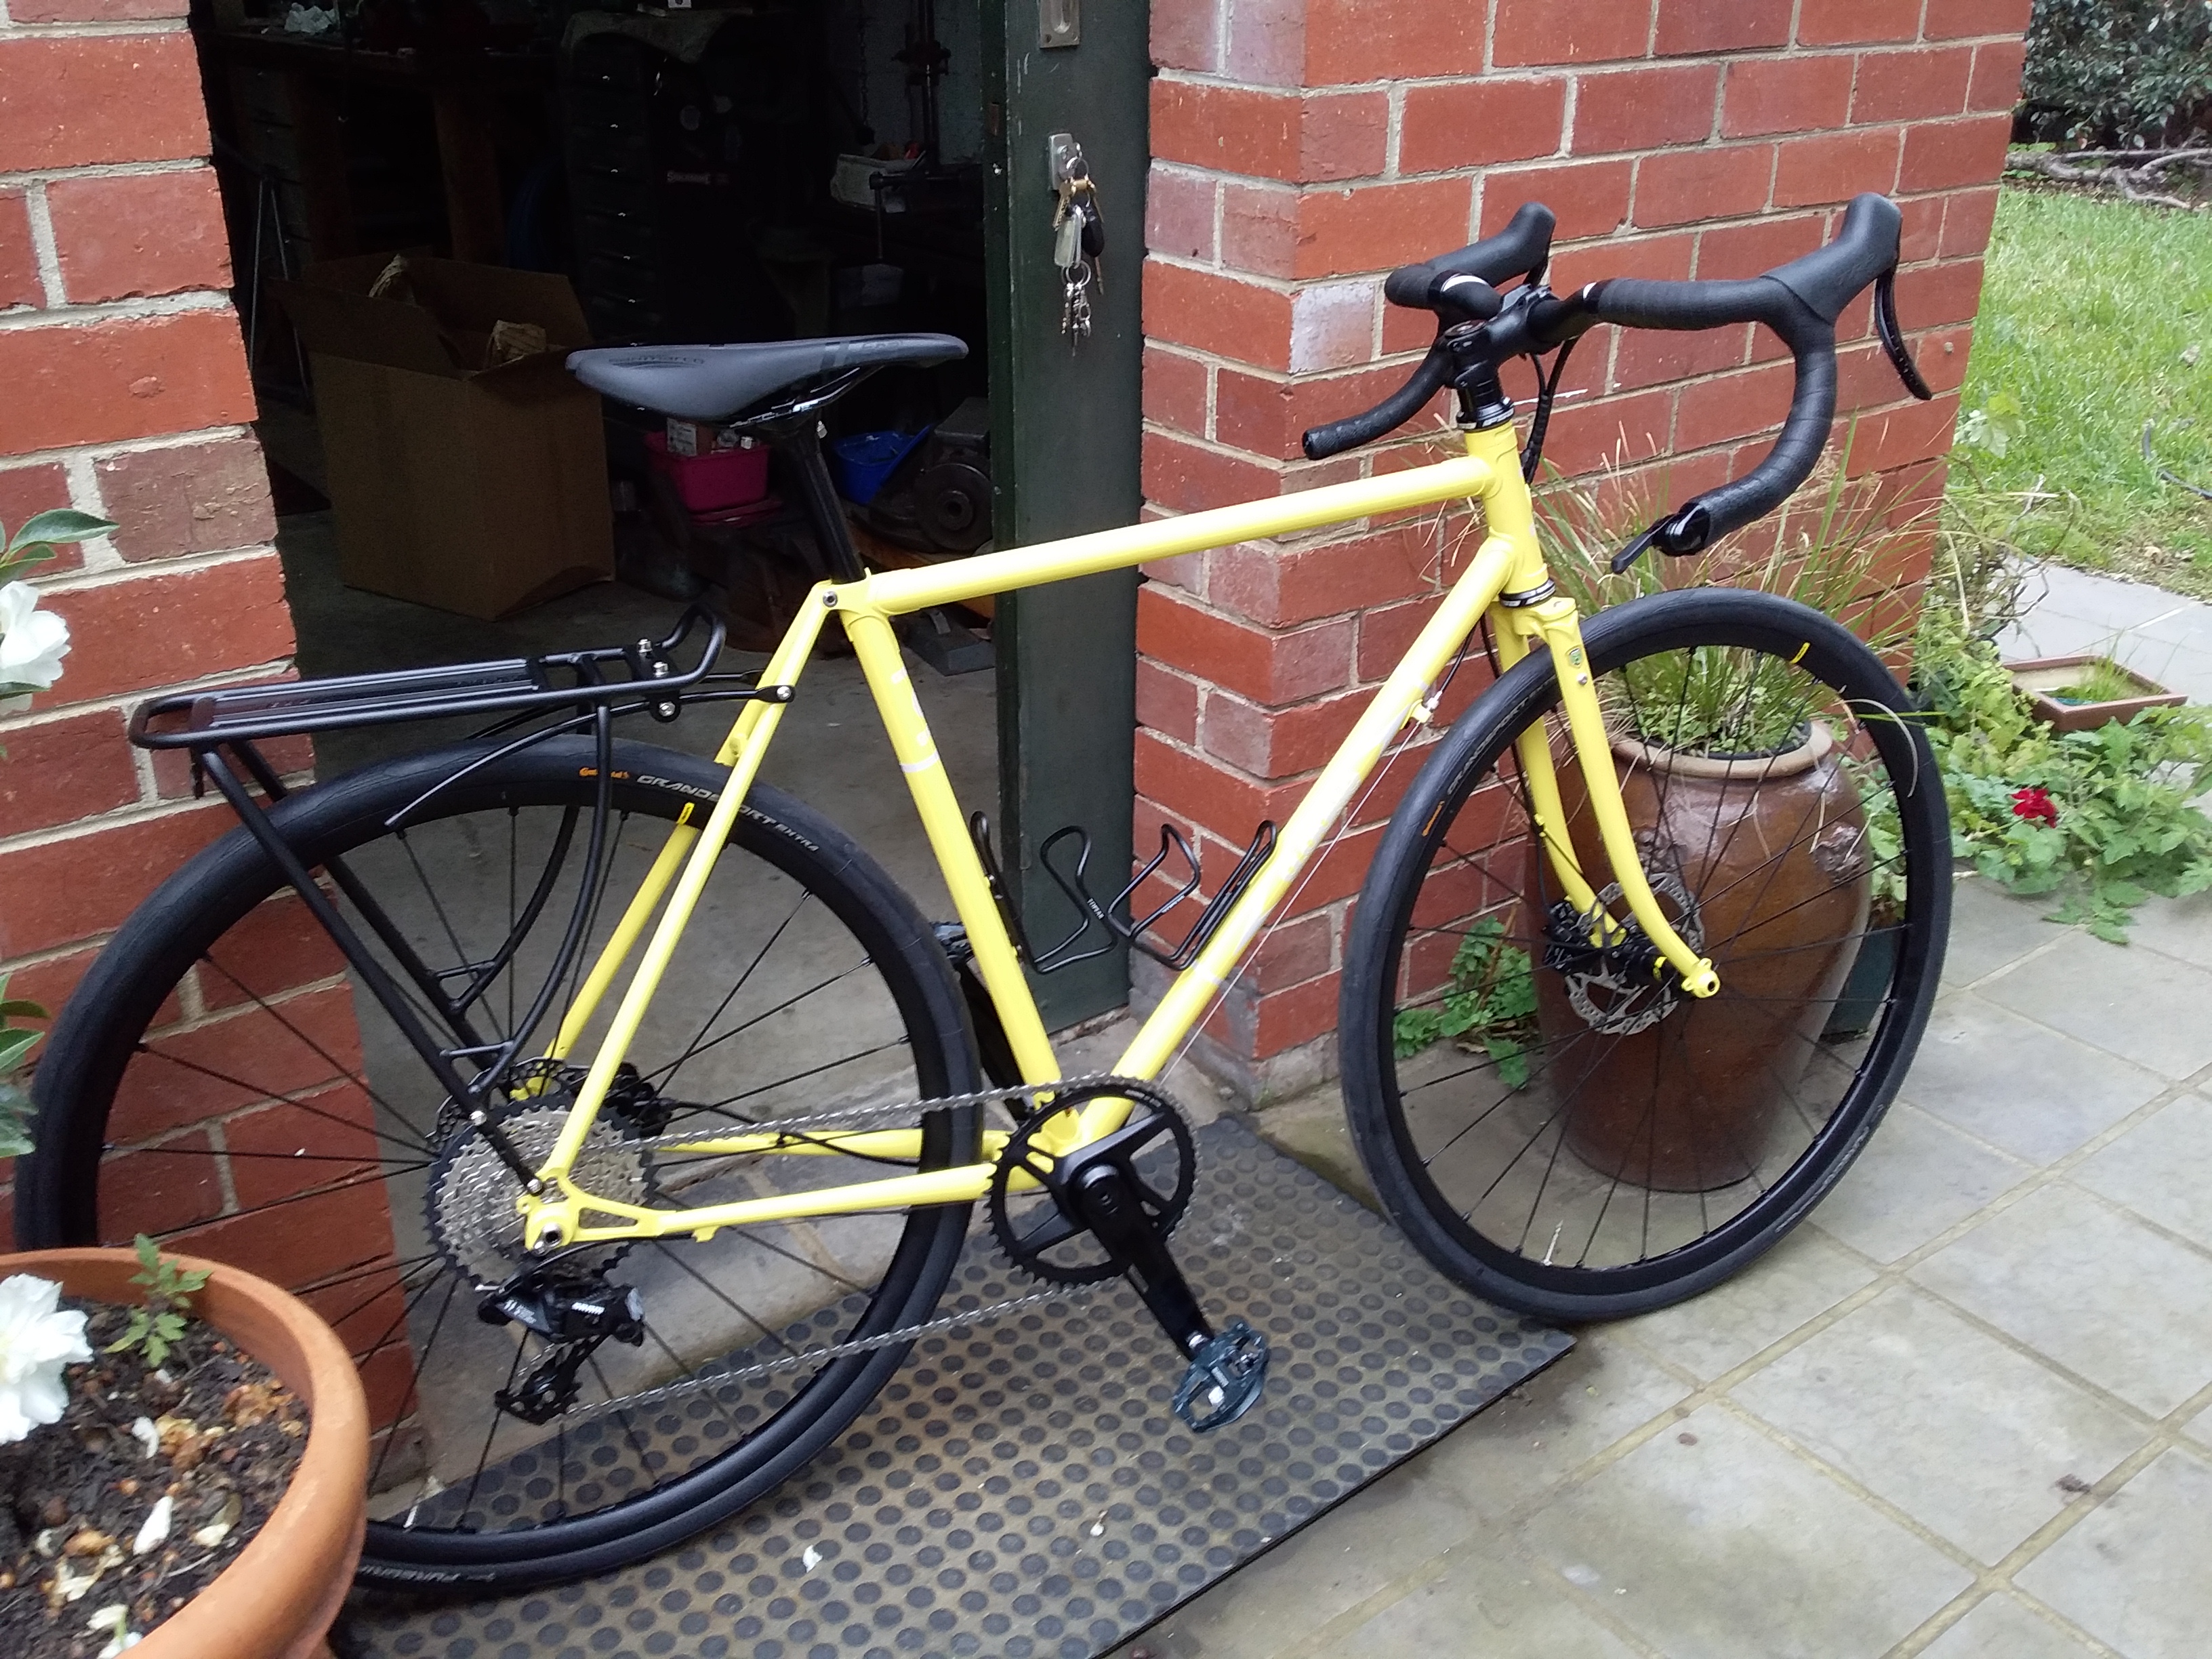
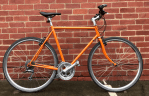
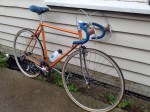
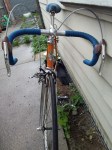
Its always good when your customers are happy and even better when they send photos of the complete bike. Both the forks on these bikes were projects from earlier this year. Really glad they are happy AND riding their bikes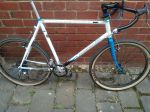
Hi all from Stage 4 Covid19 restrictions in Melbourne Australia
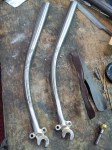
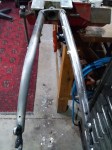
These forks turned up for me to replace.

Broken forks
The owner had been riding them when they failed, but was unhurt. He told me that he had specified a touring frame from the builder but when he first picked up the frame it had toe overlap. He didnt like it so the builder made a new set of forks with (once I measured them) 82mm of rake. I knew who the builder was and given he built more racing frames than touring ones I suspect his original geometry wasn’t really concerned about toe overlap. Anyway, all I could do was copy these and to do that I had to re-adjust the curve on my fork mandrel. It wont change the radius on future shorter rake forks but it did allow these blades to curve over more. Lucky its made from wood. Once that was done it was a pretty straightforward set of forks.

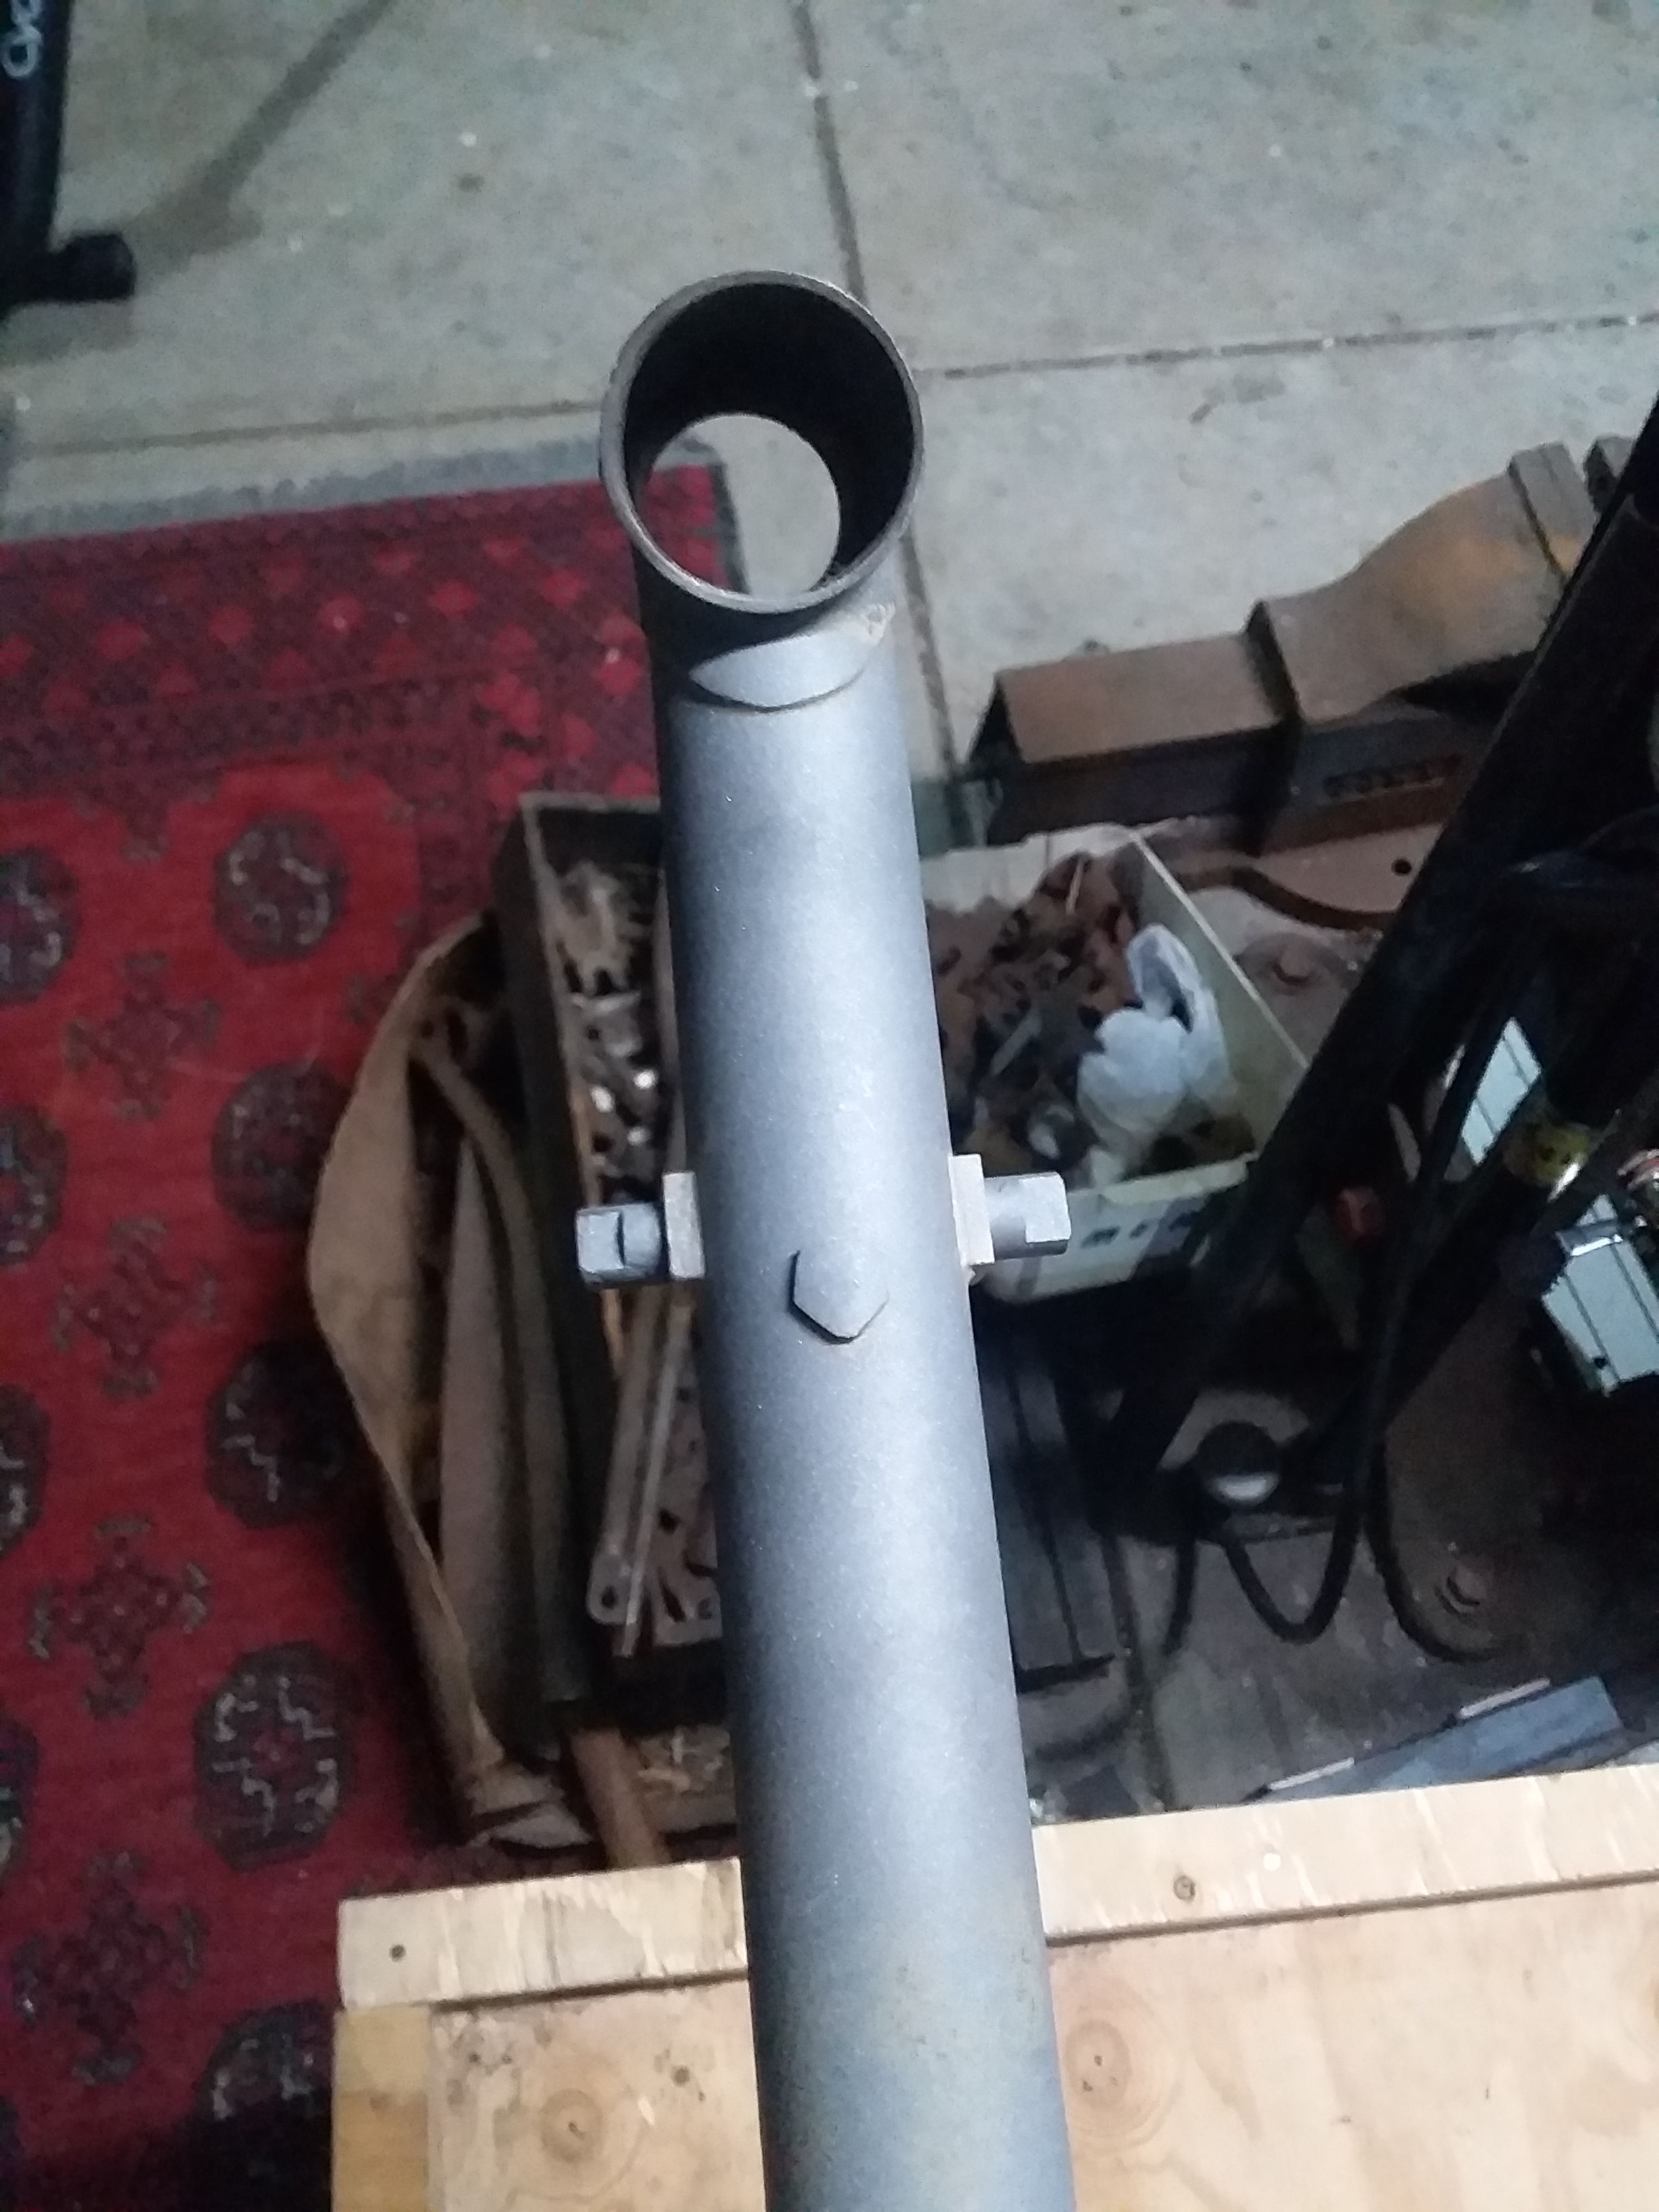
Crown and steerer
82mm of rake

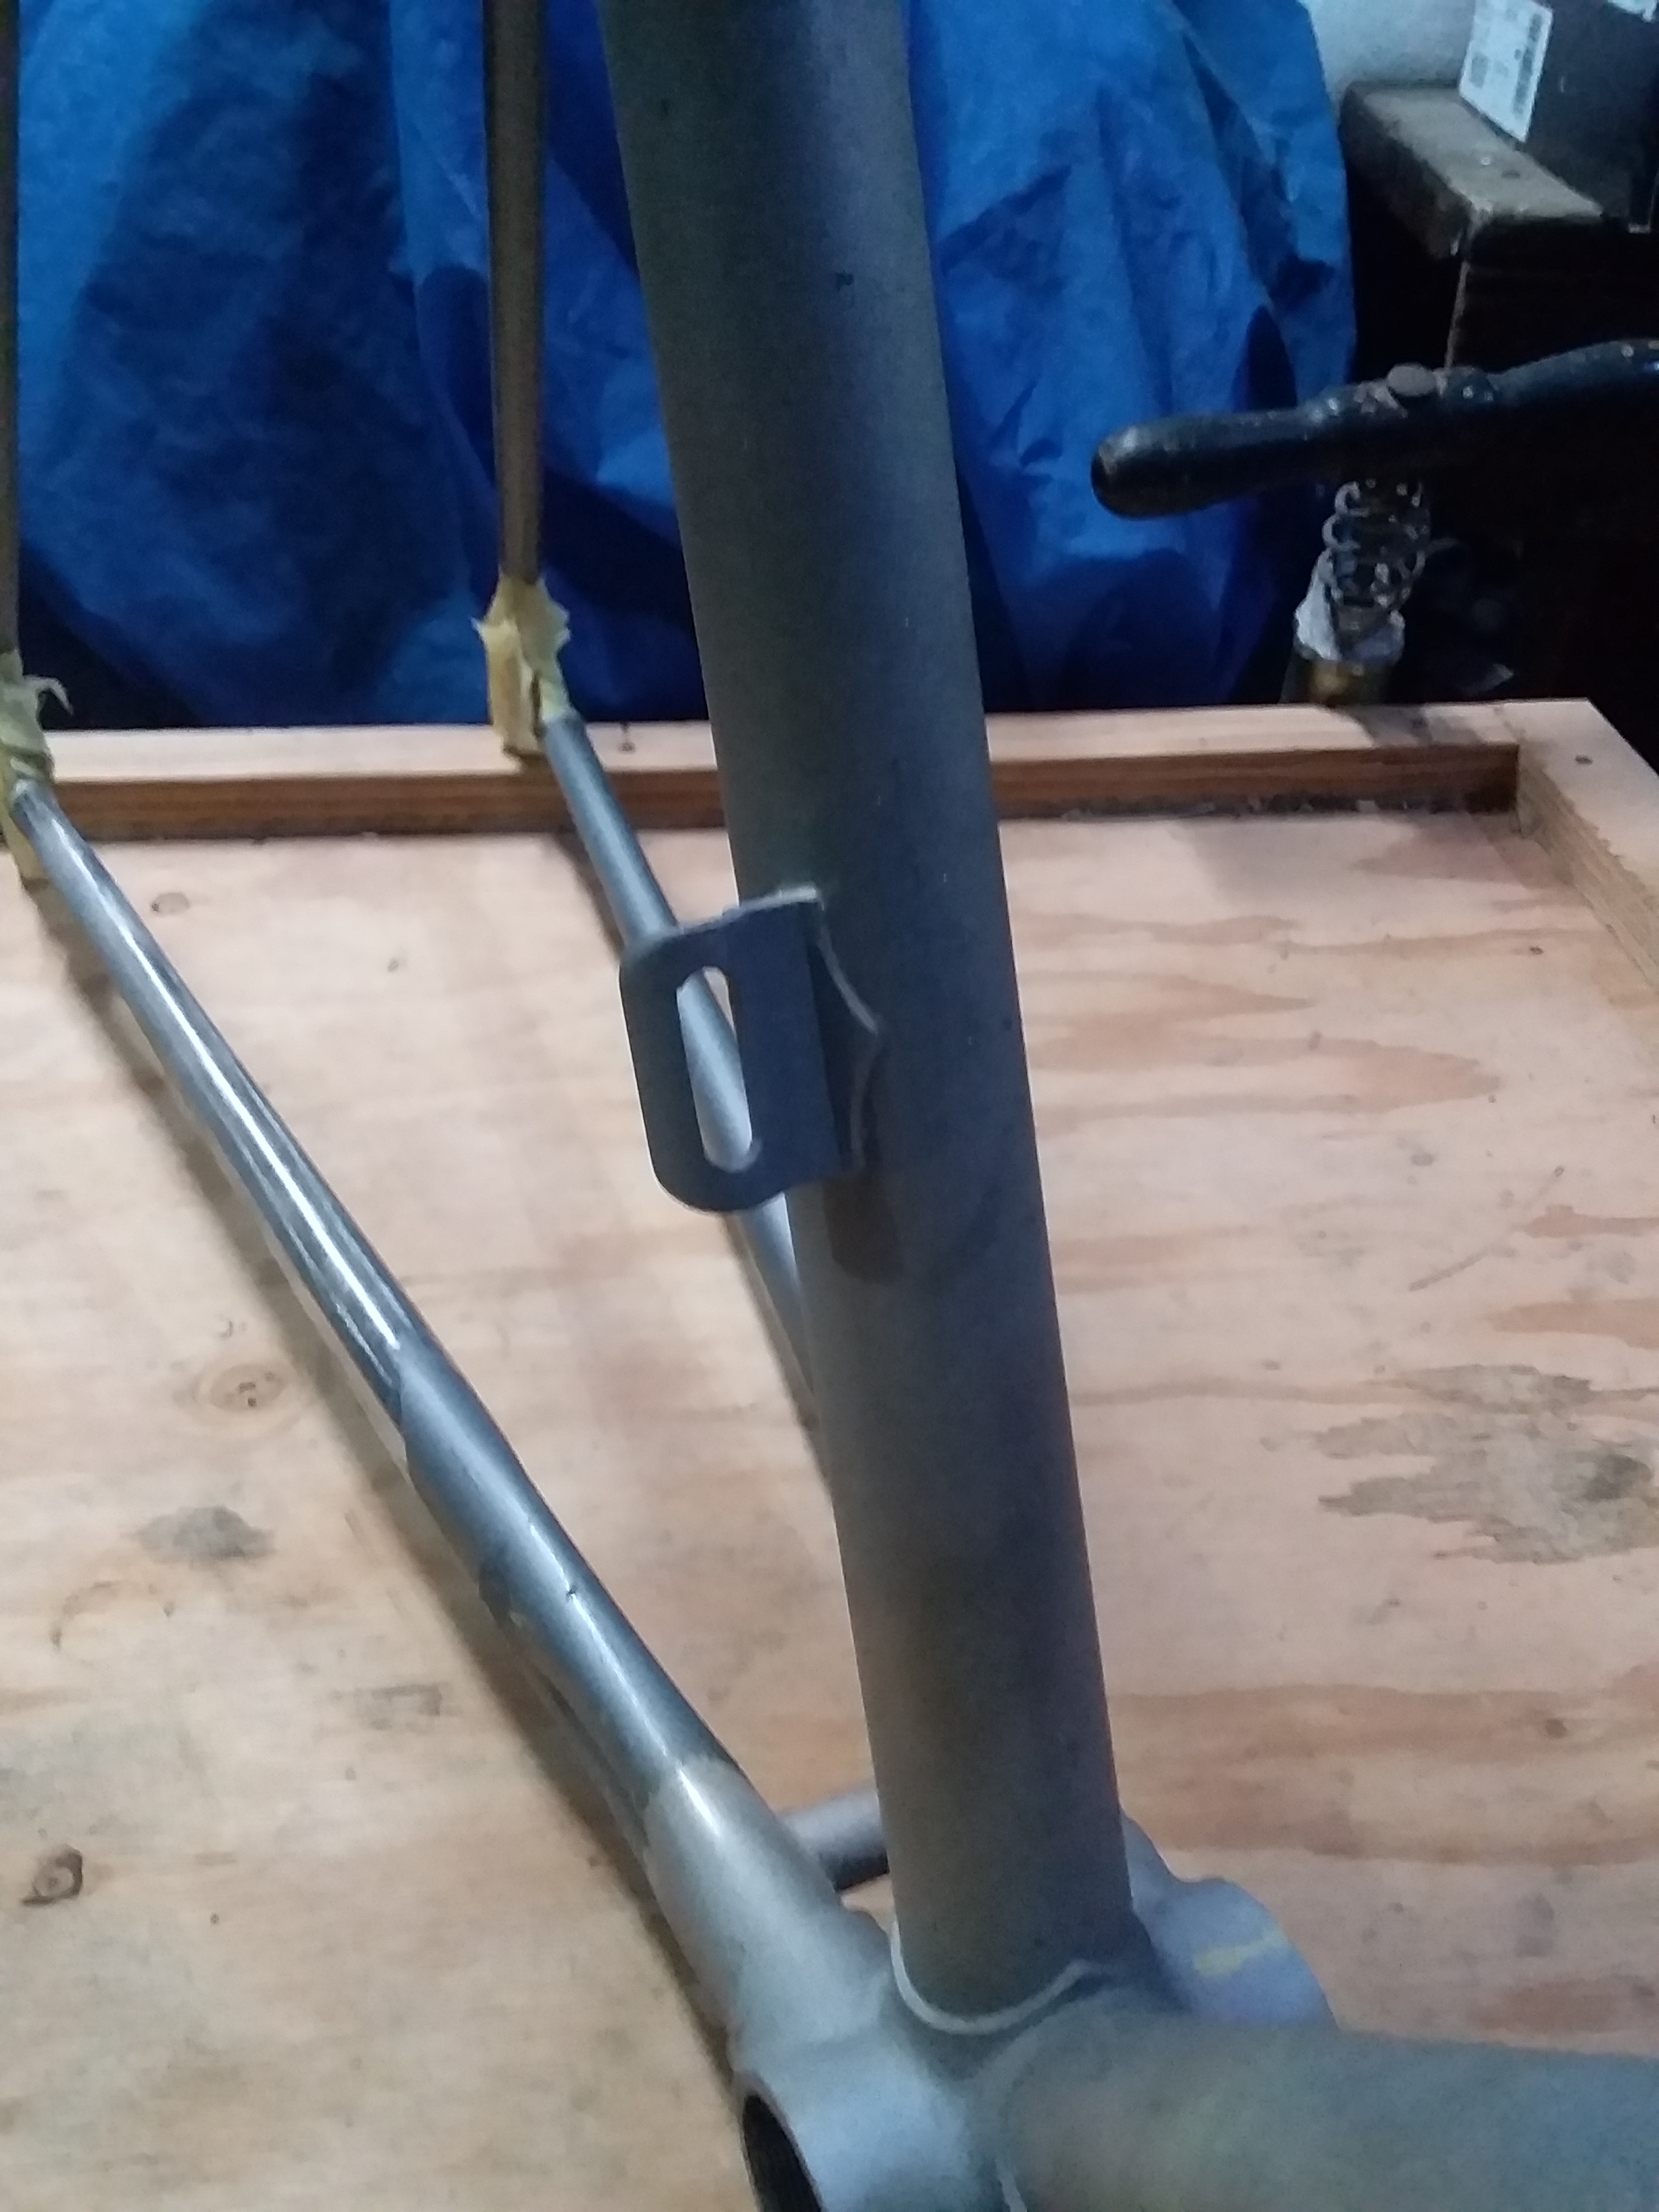
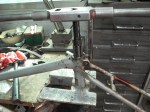
New fork jig and fork
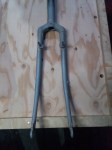
Finished and sandblasted touring fork
I got to try out my new fork jig for the first time and must say I don’t know why I took so long to make this one. It works much better than the old 1/2 inch steel plate version and is much lighter. The next job is to update the canti boss jig and make that easier
Stay safe everyone
Quite a while ago I posted about a restoration I was doing for myself of a Petrus bicycle. As I mentioned these were built in Melbourne Australia by Peter Brotherton during the 1970’s and early 80’s. If you have a look at my previous post https://gdukehandmadebicycles.com.au/2014/02/ you will see how mine came to me. now I can finally show you how it turned out along with the period correct first generation black Shimano Dura Ace components. It has taken this long to actually get back to it. In this challenging time of Covid 19 it is all ways good to see something different. I hope you enjoy
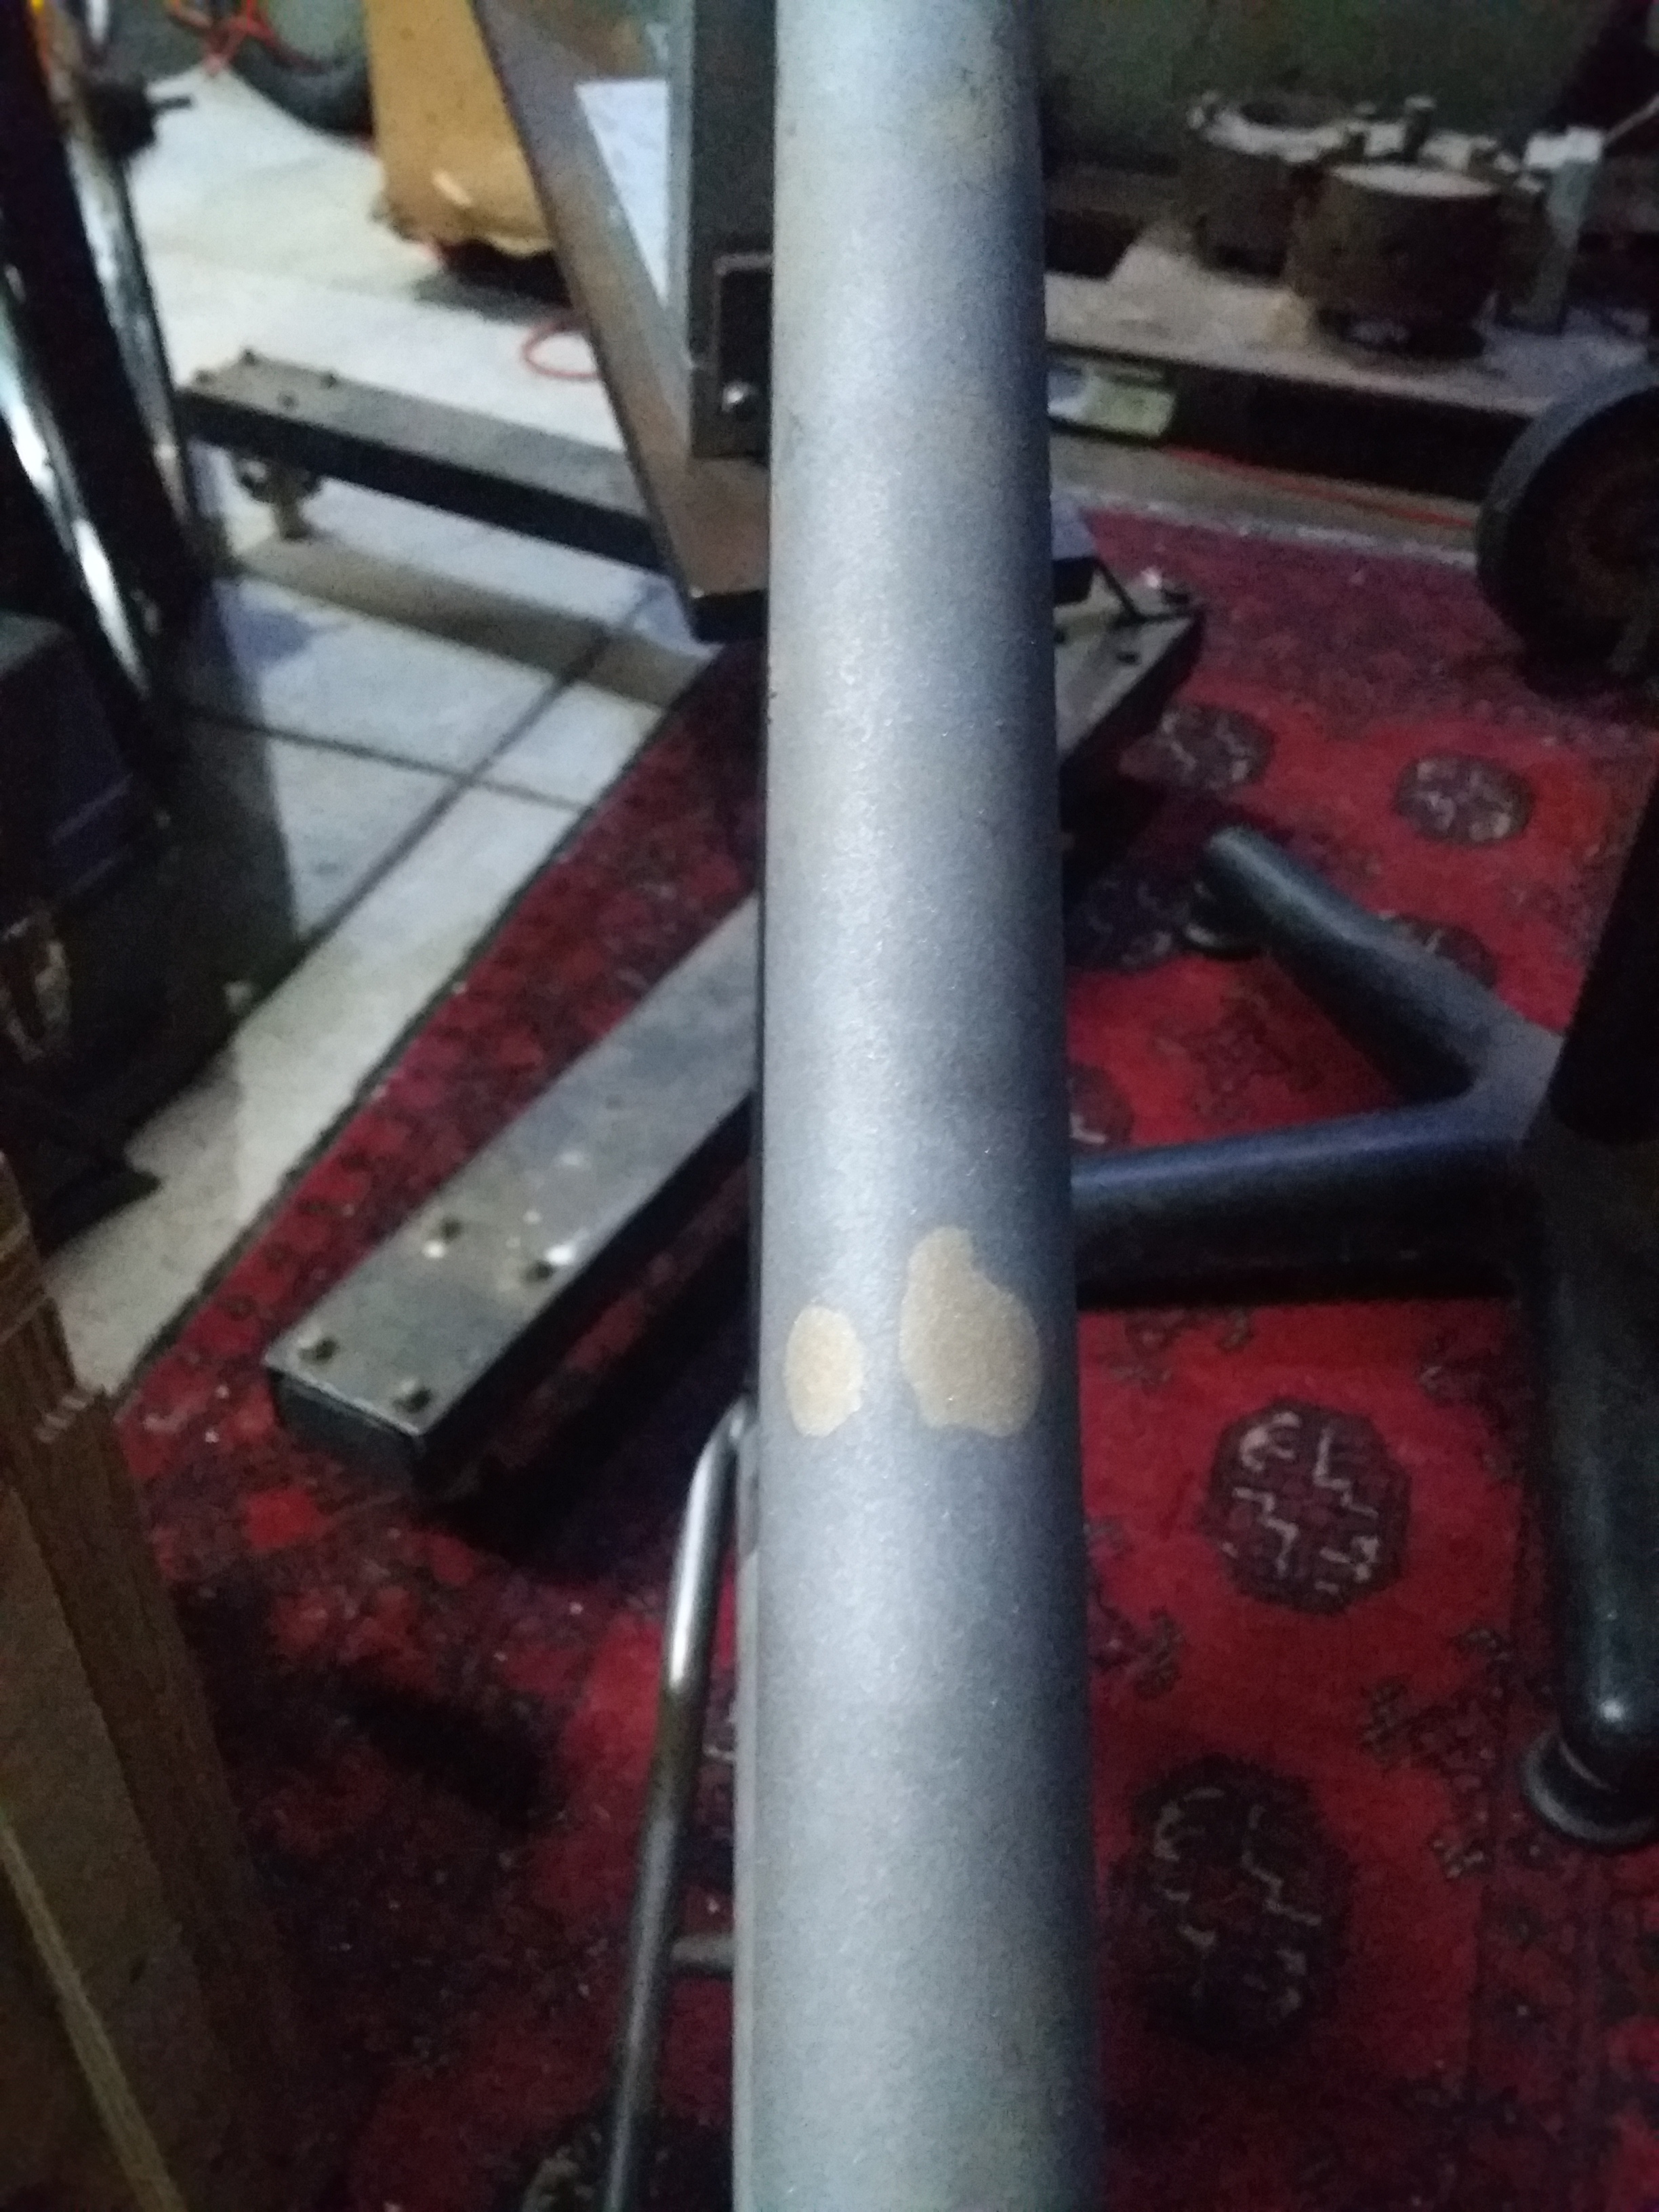
Frame repairs are a case in problem solving. In the last little while I have had two instances where most people would say “time for a new frame”or “too far gone” . The first involved a warrantied tig welded frame that the company replaced after viewing it online and asking the owner to cut through the bottom bracket shell beside the frame number. They got to verify that the frame couldn’t be ridden again and replaced it. The original problem with a broken dropout was fixed by a friend of the owner. Adrian brought it to me and wanted to know if I could do anything to keep the frame going. He wanted a second bike to use around town. I had a long think about this and decided to apply a patch along the BB shell. While I wouldn’t say it looks like bought one, it will be good for many more k’s.

Warrantied BB shell
BB shell repair
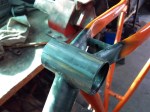
The second was a case of two broken bottle bosses in the downtube of a plain gauge tig welded frame. Ordinarily in a lugged frame I would suggest we take the tube out and replace it. This frame made that both difficult and un-economical. I decided once again to apply a patch over the whole area with new bottle mounts. Again the frame will do many more kilometers before it needs to be replaced

Broken bottle bosses

Patch and new bottle bosses

Bottle bosses replaced and painted
I don’t do this sort of work lightly and I dont see this as the easy way out. A patch is rarely as good as a replacement but in both these cases I believe they will last and are well executed. They are also quite visible but I do attempt to be elegant at the same time so I am not hiding anything when I do them
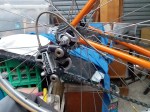
Sometimes your time is very much taken up with repairs and adjustments to peoples bikes. Over the past month I have moved a pair of canti bosses so that they would accommodate a wider rim ( I had to move them further out and a little down so that the arc would meet the rim). Repaired a seat binder boss that was collapsing after about 30 years use and reamed out two seat post that were seized in their respective frames. Please people grease your seat posts regularly. I also added a set of cable guides for a hub dyno and adjusted the rear spacing on a frame from 126 to 130mm. While I could look at all this and not see much in it the biggest thing that actually comes out of a month like this is that people get to put their bikes back on the road and keep riding, and I think that is a great thing.

Canti bosses
Cable Guides

New binder bolt in progress

New Seat binder boss
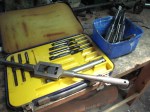
Expandable reamers
Frozen Seat post removal
